 Sign up with Google
 Sign in with Zoho


You’ve got the 4K resolution, the hyper-smooth stabilization, and the perfect POV shot. But when you review your footage, the audio is a mess. It’s either muffled by the housing, filled with roaring wind noise, or sounds like you are recording from inside a cardboard box.
This is the single biggest frustration for action camera users. The tiny, built-in microphones on cameras like the GoPro, DJI Osmo Action, or SJCAM are designed for survival, not for quality. To fix this, you need an action camera microphone attachment.
In this guide, we will break down the best types of attachments available, how to choose the right one for your content, and—most importantly—why the SJCAM M4 offers one of the most practical and effective solutions for creators on the go.
Why You Need an External Microphone Attachment
Before diving into the products, it is vital to understand why an action camera microphone attachment is a non-negotiable investment for serious creators.
- Wind Noise Reduction: Action cameras are used outdoors. Even a light breeze hitting the internal mic creates a “whooshing” sound that ruins dialogue. Most external attachments allow for a “dead cat” (furry windscreen) that physically blocks the wind.
- Directional Audio: Internal mics pick up everything—including the camera’s own lens motor and your breathing. A directional mic attachment focuses specifically on the sound source (you, the speaker) and ignores the background.
- Bypassing the Housing: If you use your camera underwater or in a waterproof case, the audio is completely muffled. A dedicated action camera microphone attachment often comes with a skeleton housing or a waterproof port to bypass this issue.
The Top Contenders for Microphone Attachments
Not all attachments are created equal. Here are the three main types you will encounter on the market.
1. The Wired Shotgun Mic (The Professional Choice)
This is the gold standard for vlogging. It involves a small shotgun microphone mounted on a cold shoe or a tripod, connected to your camera via a 3.5mm TRS adapter (like the GoPro Media Mod).
- Pros: Superior audio directionality, professional sound quality, good noise cancellation.
- Cons: Adds bulk, requires a specific adapter for your camera model (e.g., GoPro Mic Adapter), and the cable can be annoying during action sports.
2. The Wireless Lavalier System (The Hands-Free Choice)
A small clip-on mic connects to a transmitter on your collar, sending audio to a receiver plugged into your camera.
- Pros: Perfect for interviews and hands-free commentary. No cables tugging on the camera.
- Cons: Requires battery charging for two units. Can be expensive. The audio can sometimes drop out in crowded radio frequency environments.
3. The Integrated Cap or Housing Attachment (The Best Compromise)
This is the newest and most practical evolution of the action camera microphone attachment. Instead of hanging a separate mic off the side of your camera, these attachments replace the camera’s door or housing. They often include a built-in directional mic, a wind muff, and a cold shoe mount.
- Pros: Compact, protects the camera, no dangling cables, often the most affordable.
- Cons: Slightly less premium audio than a $100 dedicated shotgun mic, but far better than the built-in mic.
How to Choose the Right Microphone Attachment
When shopping for an action camera microphone attachment, consider the following:
- Compatibility: Does it fit your camera model? Never assume “universal” fits a GoPro or SJCAM properly.
- Wind Protection: Does the package include a furry windscreen? If not, buy one separately.
- Mounting Options: Can you attach a light or a remote? A cold shoe mount is incredibly valuable for expanding your rig.
- Audio Jack Type: Ensure the attachment provides a standard 3.5mm mic jack if you want to upgrade later.
Why the SJCAM M4 is the Ultimate All-in-One Solution
While many creators buy a separate Media Mod and then a separate microphone, the SJCAM M4 takes a different, more holistic approach. If you are looking for the best value action camera microphone attachment that doesn’t require a bag full of adapters, the SJCAM M4 is the clear winner.
Here is why we recommend the SJCAM M4 action camera microphone attachment to users:
1. Built-In Directional Microphone
Unlike the GoPro Media Mod (which simply allows you to plug in external mics), the SJCAM M4 housing comes with a built-in, high-quality directional microphone. This means you don’t have to buy a separate Rode or Deity mic to get good audio. You get clear, crisp audio right out of the box. This is a massive advantage for users who want “clear” without the complexity of a full studio rig.
2. Integrated Wind Muff (Dead Cat)
The attachment includes a professional-grade fur windscreen that slots directly onto the housing. This effectively kills wind noise even when mountain biking or speed hiking at 30+ mph. The internal mic on the camera is completely bypassed, leaving you with only clean audio.
3. The Cold Shoe Expansion
The SJCAM M4 features a built-in cold shoe mount on top of the housing. This allows you to attach an LED light, a larger external microphone if you prefer, or a wireless receiver. It turns your simple action camera into a modular vlogging rig.
4. Skeleton Housing Design
The attachment acts as a skeleton housing. It protects your camera from bumps and scratches while leaving the ports (USB-C, HDMI) accessible. You can keep the camera powered for long streams or live broadcasts without overheating issues.
5. Perfect for Vloggers and Streamers
If you are a travel vlogger or a live streamer, the SJCAM M4 attachment is a game-changer. It provides the audio quality of a podcast microphone while maintaining the portability of an action camera. You no longer need to hold a shotgun mic or worry about a lavalier battery dying.
Setting Up Your SJCAM M4 for Clear Audio
Getting the best results from your action camera microphone attachment is simple:
- Remove the standard door from your SJCAM action camera.
- Slide the camera into the M4 housing. It clicks in securely.
- Attach the fluffy windscreen (dead cat) to the top of the housing.
- Go into your camera settings. Ensure that the “External Microphone” setting is enabled and that “Wind Noise Reduction” is turned off (the hardware will handle that for you).
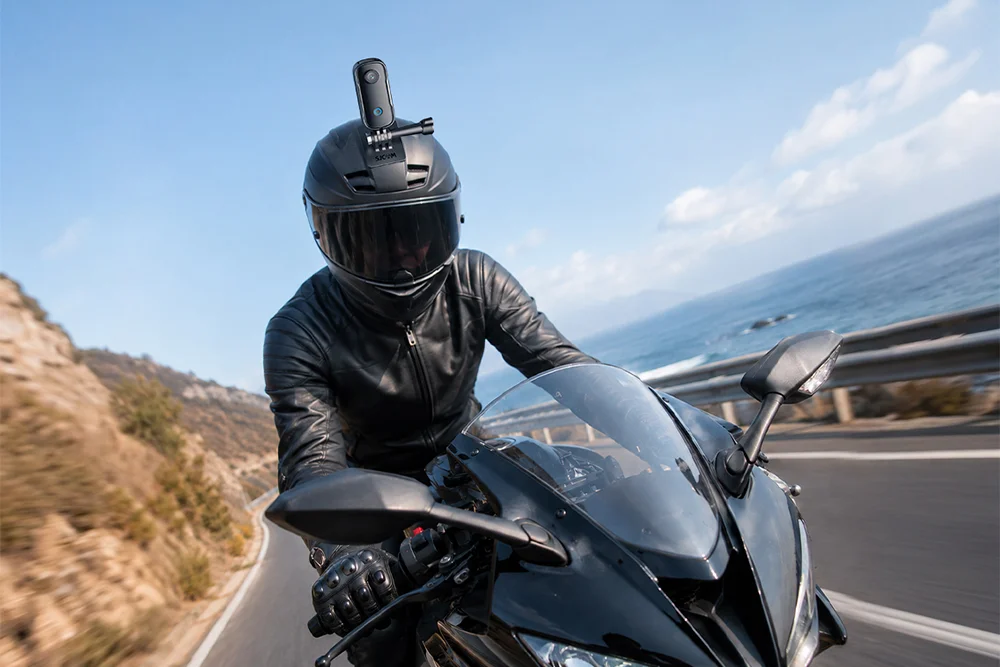
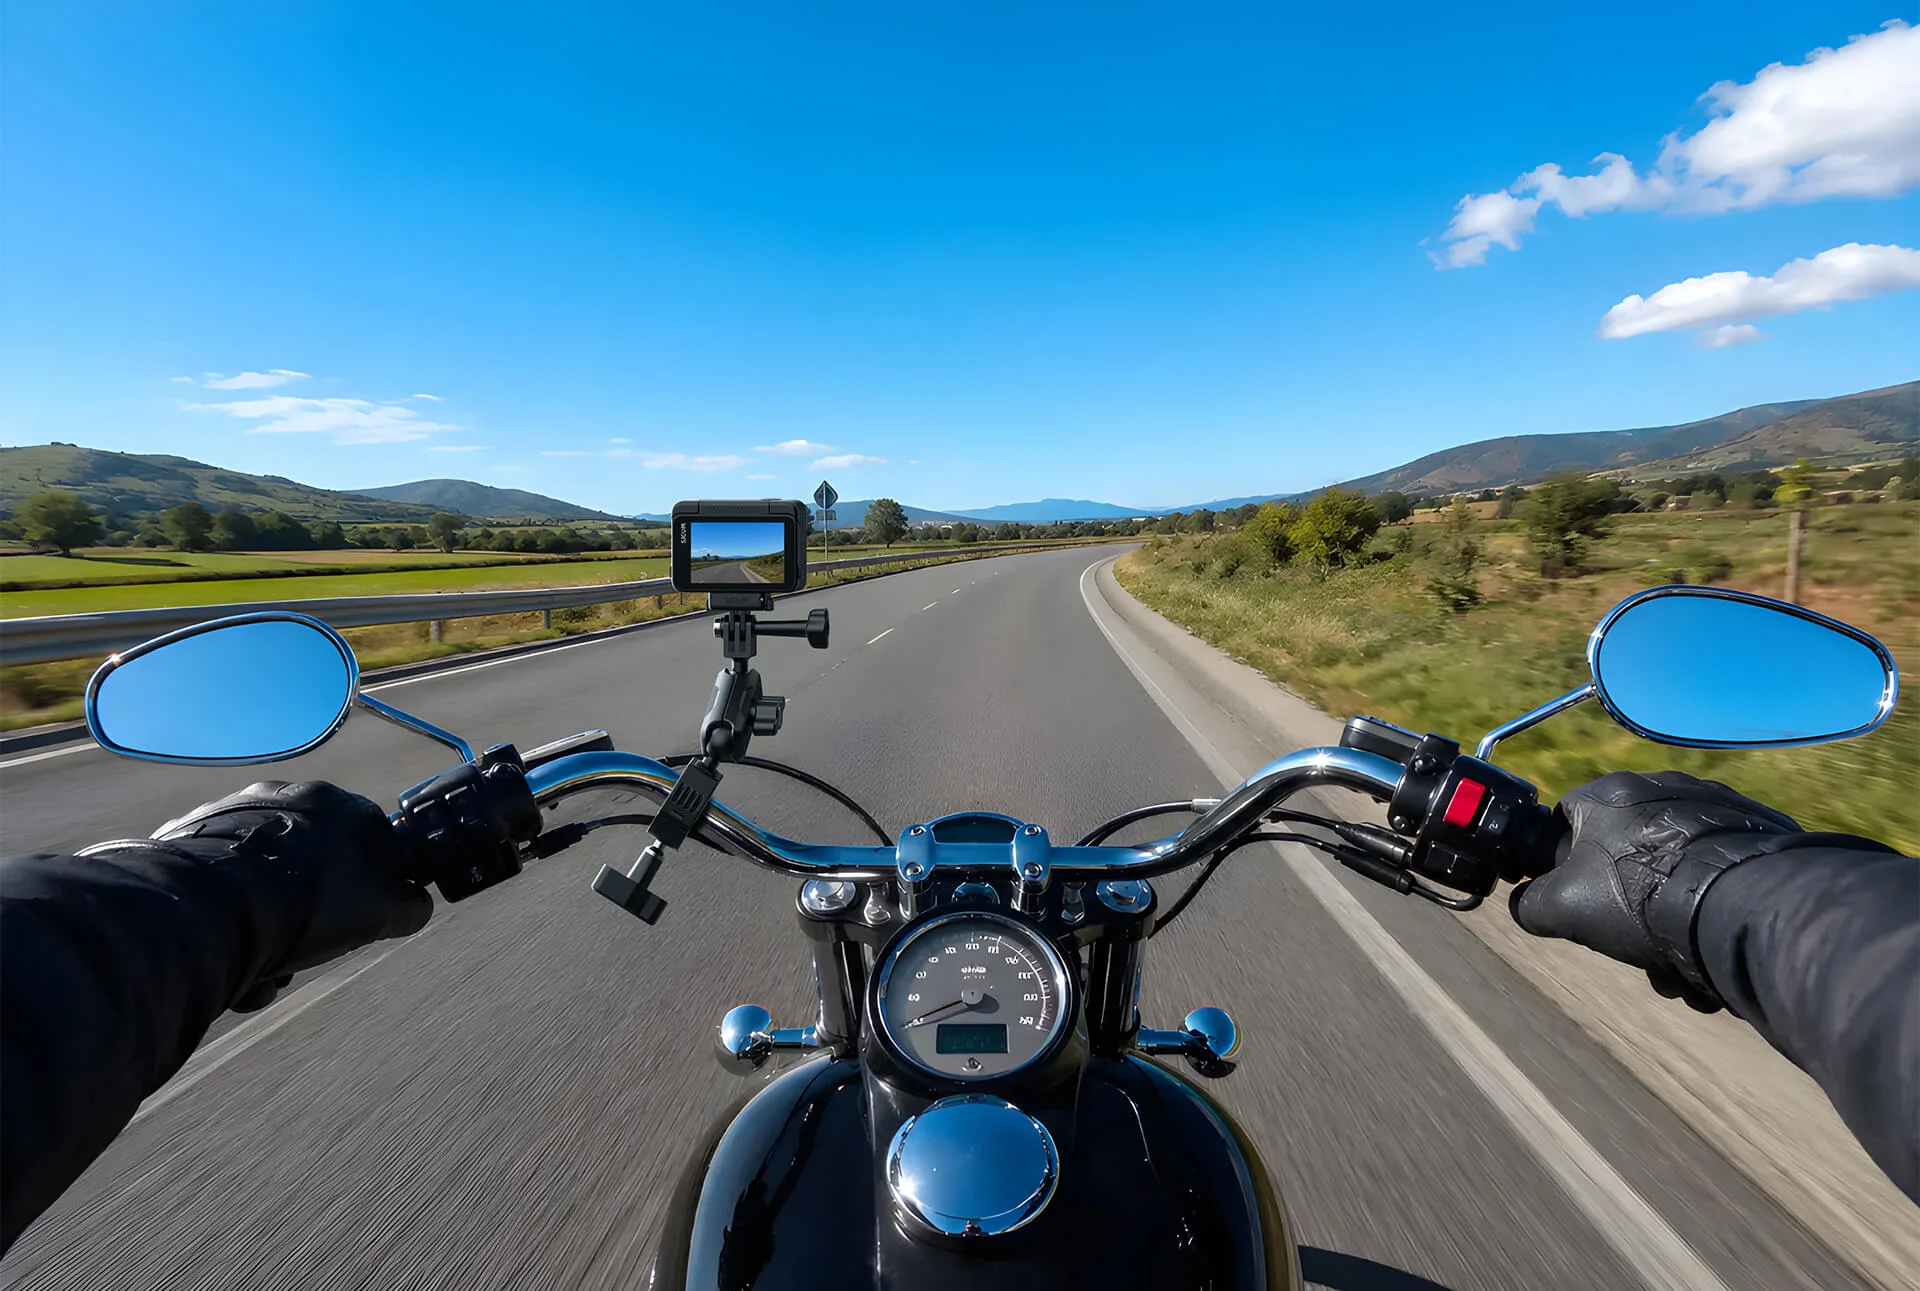
- Mount the camera on your helmet, chest strap, or selfie stick and start recording.
Final Verdict
If you want to upgrade from muffled, windy audio to professional, clear voiceovers without spending $200 on separate adapters and mics, the SJCAM M4 action camera microphone attachment is the best investment you can make.
It solves the three biggest problems of action camera audio: wind noise, muffled sound, and cable management. For the price of a simple adapter, you get a housing, a cold shoe, and a superior built-in microphone. If clear audio is your goal, look no further than the SJCAM M4.
Upgrade your audio today and let your audience hear your adventure, not just see it.