 Sign up with Google
 Sign in with Zoho

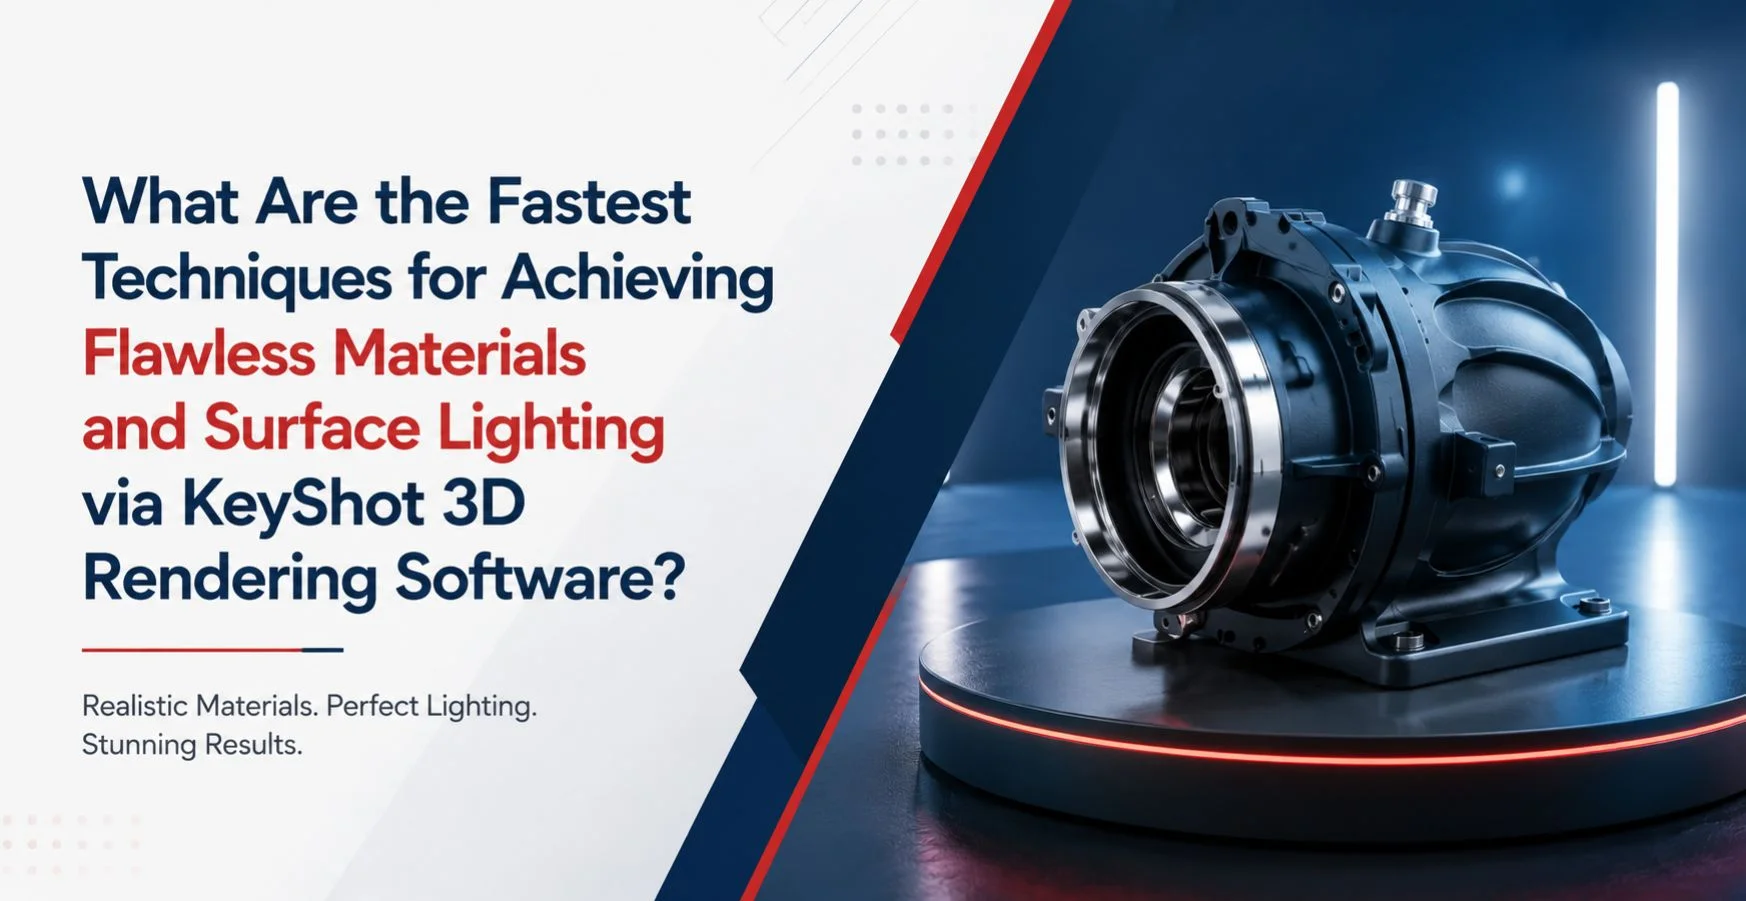
Engineering teams are under increasing pressure to communicate product designs before manufacturing begins. Whether presenting a prototype to executives, validating aesthetics with customers, or supporting engineering reviews, photorealistic visualization has become a critical part of product development. The challenge is producing accurate renders quickly without sacrificing realism.
The fastest way to achieve professional-quality results with KeyShot 3D rendering software is to combine physically accurate materials, high-quality HDRI lighting, organized CAD models, and optimized rendering workflows. Instead of relying on trial and error, organizations that follow structured rendering practices consistently produce realistic visuals while reducing design iteration time.
Executive Answer
What is KeyShot 3D rendering software?
KeyShot 3D rendering software is a real-time visualization and ray-tracing application used to create photorealistic product images, animations, and presentations directly from CAD models.
Category
Engineering visualization and product rendering software.
Primary Purpose
To transform engineering CAD models into accurate, production-quality visual assets for design validation, manufacturing reviews, sales, and marketing.
Why It Matters
High-quality visualization improves communication across engineering, manufacturing, suppliers, executives, and customers while reducing design misunderstandings.
Business Value
- Faster product visualization
- Improved design approvals
- Reduced physical prototype requirements
- Better stakeholder communication
- Higher-quality marketing assets
- More efficient engineering reviews
Common Use Cases
- Product launches
- Industrial design validation
- Engineering reviews
- Customer presentations
- Manufacturing documentation
- Sales collateral
Important Considerations
Rendering quality depends on model preparation, material accuracy, lighting configuration, camera composition, and workflow optimization—not software settings alone.
Why Visualization Speed Matters in Modern Product Development
Fast rendering supports faster decision-making.
Engineering teams frequently need multiple visualization iterations before approving a product for manufacturing. Waiting days for updated imagery delays design reviews, supplier collaboration, and executive approvals.
Organizations using structured rendering workflows often shorten visualization cycles without compromising image quality.
How KeyShot 3D Rendering Software Produces Realistic Materials
Realism begins with physically accurate material behavior rather than visual effects.
Instead of manually painting reflections or shadows, KeyShot simulates how light naturally interacts with surfaces.
Start with Accurate Material Definitions
Choose materials that closely represent production specifications.
Examples include:
- Brushed aluminum
- Powder-coated steel
- Injection-molded ABS plastic
- Carbon fiber composites
- Tempered glass
- Medical-grade polymers
- Rubber overmolds
Small adjustments to roughness, reflectivity, anisotropy, and surface imperfections often produce larger improvements than adding extra visual effects.
Avoid Excessive Material Customization
One common mistake is over-editing default materials.
Minor refinements usually create more realistic results than extensive manual modifications that introduce unnatural reflections or inconsistent textures.
Expert Observation
Many rendering projects fail because designers focus on dramatic visual effects rather than accurately representing real manufacturing materials. Engineering visualization succeeds when realism takes priority over artistic styling.
Mastering Surface Lighting for Consistent Results
Lighting determines whether materials appear realistic.
Even perfectly configured materials will look artificial under poor lighting conditions.
Use High-Quality HDRI Environments
High Dynamic Range Imaging (HDRI) environments create natural lighting with realistic reflections.
Well-designed HDRIs improve:
- Metallic finishes
- Transparent components
- Glossy plastics
- Painted surfaces
- Product contours
Rotating the lighting environment often produces better highlights than increasing light intensity.
Add Area Lights Only When Necessary
Area lights help emphasize important product features during close-up presentations.
They are particularly useful for:
- Medical devices
- Consumer electronics
- Automotive components
- Aerospace assemblies
Overusing artificial lights frequently produces unrealistic shadows and harsh reflections.
CAD Model Quality Directly Affects Rendering Quality
Rendering software cannot compensate for poor engineering models.
Before importing data, verify:
- Correct geometry
- Clean assemblies
- Consistent naming conventions
- Proper surface normals
- Accurate part hierarchy
- Simplified unnecessary internal components
Organizations using professional CAD design services typically spend less time correcting visualization issues because models are prepared with downstream workflows in mind.
Optimize CAD Data Before Rendering
Large enterprise assemblies often contain millions of polygons.
Rendering unnecessary geometry wastes computing resources.
Useful optimization techniques include:
- Suppressing hidden components
- Simplifying hardware
- Removing internal mechanisms
- Combining repeated components
- Eliminating duplicate geometry
Organizations using 3D CAD modeling services frequently integrate model optimization into their engineering workflows, reducing rendering times while preserving visual accuracy.
Camera Composition Makes Technical Visuals More Effective
A technically accurate render still needs thoughtful composition.
Good camera positioning should:
- Highlight functional design features
- Maintain realistic perspective
- Avoid extreme focal lengths
- Keep engineering proportions accurate
- Preserve manufacturing intent
For executive presentations, simplicity generally communicates engineering quality more effectively than dramatic artistic angles.
Rendering Workflow Best Practices
Efficient rendering relies on repeatable processes.
A proven workflow includes:
Model Preparation
- Validate CAD geometry
- Organize assemblies
- Simplify complex components
Material Assignment
- Match production materials
- Apply consistent naming
- Verify textures
Lighting Configuration
- Select appropriate HDRI
- Rotate lighting for optimal reflections
- Add supplemental lighting only when necessary
Camera Setup
- Choose realistic viewing angles
- Maintain proportional framing
- Focus on product functionality
Final Rendering
- Use production-quality render settings
- Validate reflections
- Inspect edges and transitions
- Perform final quality review
Following a standardized workflow minimizes revisions while improving consistency across engineering teams.
Comparing Basic Rendering and Engineering Visualization
Basic rendering often prioritizes visual appeal.
Engineering visualization emphasizes:
- Dimensional accuracy
- Material realism
- Manufacturing representation
- Product functionality
- Design validation
For industrial manufacturers, engineering-focused rendering generally provides greater long-term value than purely artistic visualization.
Supporting Digital Product Development
Visualization is no longer an isolated activity.
Rendered product images increasingly support:
- Engineering reviews
- Digital twins
- Supplier collaboration
- Product lifecycle documentation
- Marketing preparation
- Customer demonstrations
Organizations pursuing broader digital transformation consulting services often integrate rendering into enterprise engineering workflows rather than treating it as a standalone design task.
Similarly, rendering workflows become more efficient when aligned with structured PLM implementation services, ensuring product data, CAD revisions, and visualization assets remain synchronized throughout the development lifecycle.
Common Mistakes That Reduce Rendering Quality
Experienced visualization teams consistently avoid several recurring problems.
- Using inaccurate material definitions
- Over-lighting scenes
- Ignoring CAD cleanup
- Excessive camera distortion
- Unrealistic reflections
- Rendering incomplete assemblies
- Applying unnecessary post-processing
Correcting these issues early reduces rendering time and improves overall presentation quality.
Choosing the Right Rendering Workflow
Organizations should evaluate rendering processes based on operational requirements rather than image aesthetics alone.
Consider:
- CAD integration capabilities
- Rendering speed
- Material libraries
- Lighting flexibility
- Animation support
- Workflow automation
- Collaboration requirements
- Scalability
Engineering teams exploring advanced rendering capabilities often reference enterprise visualization resources, such as comprehensive KeyShot 3D rendering software guidance available through specialized engineering solution providers, when developing standardized visualization workflows.
Conclusion
Producing realistic product visuals quickly requires more than powerful software. High-quality results depend on accurate CAD preparation, physically correct materials, carefully configured HDRI lighting, disciplined camera composition, and repeatable rendering workflows.
Organizations that standardize these practices typically reduce visualization time, improve engineering communication, and create more consistent product presentations throughout the development lifecycle. As product complexity continues to grow across manufacturing industries, structured rendering processes will remain an essential component of efficient digital engineering.
Frequently Asked Questions
1. What is KeyShot 3D rendering software primarily used for?
KeyShot 3D rendering software is used to transform CAD models into photorealistic images, animations, and presentations. Engineering teams use it for design reviews, executive presentations, product launches, manufacturing documentation, and customer visualization without requiring extensive manual rendering expertise.
2. Why does HDRI lighting produce more realistic renders?
HDRI lighting accurately simulates real-world illumination and reflections. Instead of relying on manually positioned lights, HDRI environments reproduce natural lighting conditions, allowing metallic, plastic, glass, and painted surfaces to behave realistically during rendering.
3. Does CAD model quality affect rendering performance?
Yes. Clean CAD geometry, organized assemblies, simplified components, and consistent model structure reduce rendering time while improving visual quality. Poorly prepared models often create unnecessary complexity that increases processing time and reduces realism.
4. Can KeyShot support enterprise engineering workflows?
Yes. Many manufacturing organizations integrate KeyShot into broader engineering processes, allowing visualization assets to support design validation, stakeholder reviews, supplier collaboration, and product lifecycle documentation throughout development.
5. How can organizations reduce rendering time without sacrificing quality?
They should optimize CAD models, use realistic material presets, rely on HDRI lighting, avoid unnecessary scene complexity, standardize rendering templates, and establish repeatable workflows that minimize manual adjustments.
6. Is rendering useful beyond marketing applications?
Absolutely. Engineering teams use rendered images for design verification, manufacturing planning, supplier communication, executive approvals, training materials, service documentation, and customer collaboration long before products reach production.
7. What should organizations evaluate when selecting rendering software?
Important considerations include CAD compatibility, rendering accuracy, material libraries, lighting capabilities, workflow efficiency, animation support, collaboration features, scalability, and integration with existing engineering systems.