
 Sign up with Google
 Sign in with Zoho

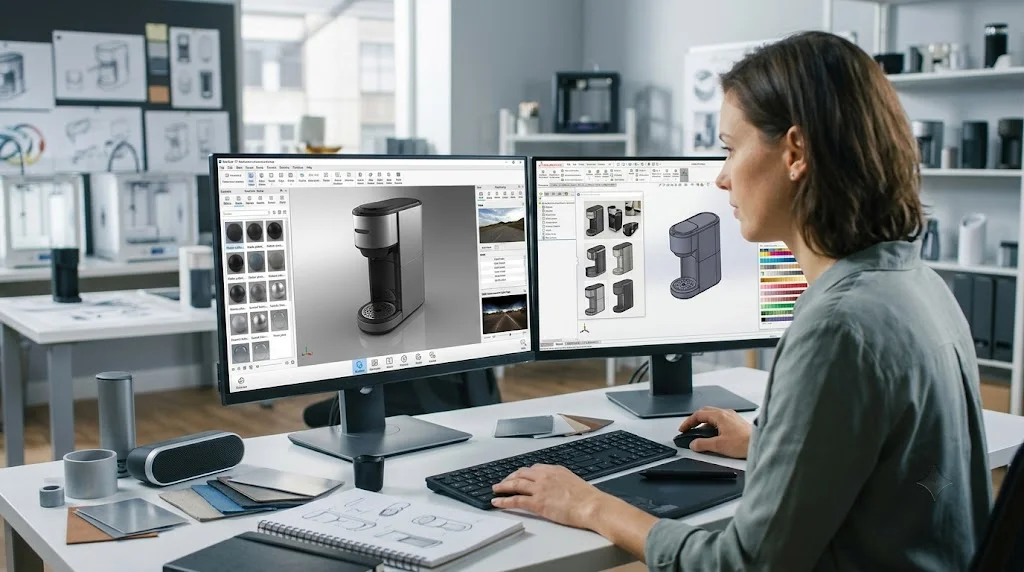
KeyShot 3D rendering software turns a CAD model into a photorealistic product image through four decisions: how the model is prepared, what material each surface gets, how the scene is lit, and where the camera sits. Make them in that order and your first render will need far less rework than most beginners expect.
What KeyShot Does in a Product Visualization Workflow
KeyShot is a rendering application that sits between CAD design and everything that needs a picture of the product: marketing, sales, design review. Product visualization means producing images, animations or interactive views of a product before it is photographed, or before it exists at all. KeyShot handles the 3D rendering step, and its real-time preview shows material and lighting changes as you make them instead of after a long wait.
That instant feedback changes how a review meeting can run. You can compare two finishes on screen with the people who have to approve them, rather than rendering both and emailing the results next week.
Step 1: Prepare the Model Before You Import It
A clean import saves more time than any later setting. KeyShot reads a wide range of 3D formats and has plugins for tools such as Creo, SolidWorks, Siemens NX, Rhino and Blender, so geometry can move across without manual export steps. Before importing, check three things:
- Units and scale. A model exported in millimeters but read as meters will distort lighting and depth of field.
- Part structure. Group parts by material. One "black plastic housing" group is easier to handle than forty loose bodies, because you assign the material once.
- Hidden clutter. Remove fasteners, internal wiring and construction geometry the camera will never see.
Step 2: Assign Materials by Surface Function
Assign materials in three tiers: hero surfaces first, supporting surfaces second, background last. Hero surfaces are what a viewer judges the product by, such as a painted shell or a brushed metal bezel. Spend your time there and accept a "good enough" material on the screws.
Drag a material from the library onto a surface, then adjust color, roughness and finish. Brand color deserves extra care. KeyShot 2023 added full support for Coloro, a free color library with 3,500 colors, and Pantone libraries are available as well. Confirm any brand color on a calibrated display, because a monitor that drifts will make an accurate material look wrong.
Step 3: Light With the Environment First
Start with one HDRI environment and rotate it until the reflections define the product's edges. An HDRI is a 360-degree image that both lights the scene and shows up in reflective surfaces.
A common beginner reflex is to add lights whenever an image looks flat. In most cases the better fix is rotating the environment or changing its brightness. Extra lights add extra highlights, and on glossy surfaces they compete with each other (this is analysis, not a KeyShot rule). Add a single light only when one specific problem remains, such as a dark front face, and change one thing per test render so you know what worked.
Step 4: Frame the Camera, Then Render
Choose the camera angle before final render settings, because framing decides which surfaces matter. A moderate focal length gives a natural product look, while extreme wide angles stretch the edges nearest the lens.
Then set the output size and a render limit, either by time or by quality samples. Run a small draft first and check four things before the final render:
- Edges are not cropped.
- Reflections show something intentional.
- Noise is low in the dark areas.
- The hero surface is the brightest, sharpest part of the frame.
Choosing an Output: Still, Web Viewer or VR
The right output depends on who will look at the result and what they need to decide.
The Web Viewer deserves a closer look for sales teams. The 2023 release made it load faster, added an image gallery for hero shots next to the interactive model, improved mobile display and added an AR mode for iOS devices.
KeyShot 2023: What Still Matters Today
KeyShot 2023 shipped in March 2023 and focused on sharing and consistency: the Web Viewer upgrades above, Coloro colors, EXR layer output instead of PSD only, and saved scene templates. Newer releases have added more, so confirm which version your team runs. If you are comparing versions or need a CAD plugin, the KeyShot plugin and licensing options listed by reseller 3 HTi give a current overview.
Your First Week With KeyShot
Spend day one on one product with one HDRI and one camera angle. Spend day two on materials, hero surfaces first. Spend day three on output, trying a still and a Web Viewer share. Leave animation for later, because it multiplies every earlier mistake.
KeyShot 3D rendering software rewards order more than settings. Render one product you already have CAD data for, and write down which of the four decisions cost you the most time. That list is your learning plan.