Compared to many other technologies, it naturally delivers better surface quality. That is why it is widely used for prototypes, product designs, dental models, jewelry, miniatures, and precision components.
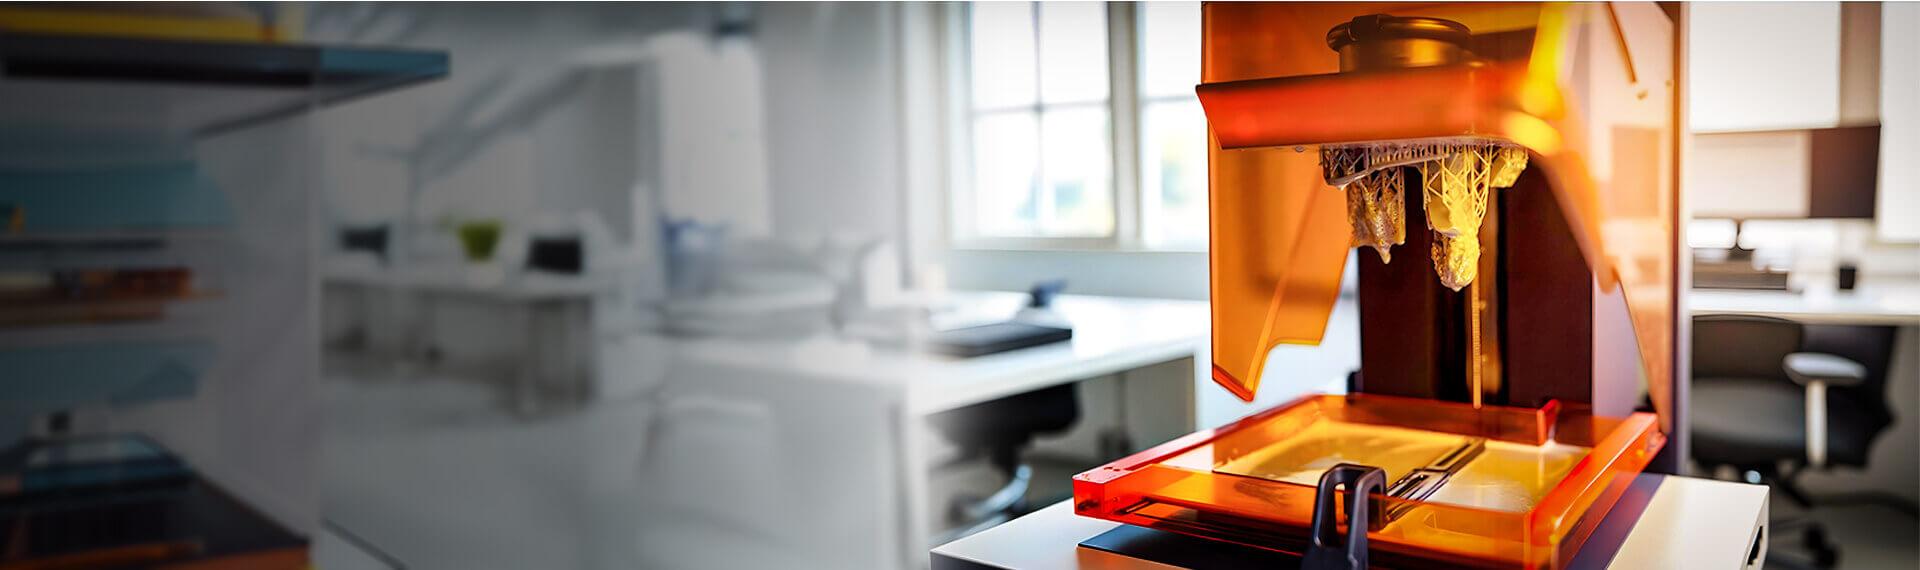
At Mech Power, we often work with resin 3D printing projects where surface finish plays a critical role. Whether the part is for visual presentation or functional testing, achieving a smooth finish is always a top priority.
However, even with advanced machines, getting a perfect surface finish is not automatic. Many small factors influence the final look and feel of a printed part. The good news is that most surface finish issues are easy to prevent once you understand the basics.
In this guide, we will share practical tips to help you achieve excellent results with resin 3D printing. The explanations are simple, clear, and useful for beginners as well as experienced users.
What Does Surface Finish Mean?
Surface finish refers to how smooth, clean, and visually appealing a printed part appears after printing and post-processing.
A good finish means:
- Minimal visible layer lines
- Clean edges and details
- No bumps, marks, or rough patches
- A smooth texture when touched
Even though resin printing produces finer details than many other methods, poor settings or handling can still affect quality.
1. Start with the Right Resin
Material selection plays a major role in surface quality.
Different resins are designed for different purposes. Some focus on strength, others on flexibility, speed, or high detail. If your priority is surface finish, choosing a resin made for precision is important.
Recommended resin types:
- High detail resins
- Low viscosity resins
- Engineering-grade resins from trusted brands
Lower-quality 3D printing materials may save money, but they sometimes create inconsistent textures, curing problems, or visible defects.
Using reliable resin often means smoother prints with fewer issues. This is something we strongly emphasize at Mech Power when selecting materials for precision parts.
2. Fine-Tune Layer Height
Layer height directly affects how smooth your print looks.
Smaller layer heights create finer transitions between layers. This leads to better surface quality, especially for curved or detailed areas.
General suggestions:
- 0.8 to 1.0 mm works well for most prints
- 0.4 mm supports clean engraved and embossed features
- ± 0.2% accuracy with ± 0.13 mm minimum deviation
Lower layer height increases print time, but the visual improvement is often worth it.
3. Optimize Exposure Settings
Exposure settings are one of the most critical parameters in resin printing.
Incorrect exposure can create multiple surface problems.
Common issues:
- Underexposure may cause soft or sticky surfaces
- Overexposure may blur details and create swollen edges
Each resin type has recommended exposure times. Always begin with manufacturer guidelines and perform test prints when switching materials.
Correct exposure ensures clean details and consistent layer curing.
4. Adjust Model Orientation Carefully
Model orientation impacts both print success and surface finish.
Large flat surfaces placed directly parallel to the build plate may develop visible lines or suction-related imperfections.
Better orientation practices:
- Tilt models slightly, around 30 to 45 degrees
- Avoid large flat surfaces facing the build plate
- Position important surfaces away from support contact areas
Smart orientation reduces layer visibility and improves overall appearance.
5. Place Supports Strategically
Support is necessary, but poor placement can damage surface quality.
Large support tips or incorrect positioning may leave marks or small scars after removal.
Tips for better support usage:
- Use smaller support tips for delicate areas
- Place supports in hidden or less visible regions
- Avoid excessive supports
Careful planning helps preserve smooth surfaces.
6. Maintain Ideal Resin Temperature
Temperature affects resin behavior more than many users expect.
Cold resin becomes thicker and may not flow evenly. This can lead to print defects, rough textures, or incomplete curing.
Ideal conditions:
- Most resins perform best between 20°C and 30°C
- Avoid printing in very cold environments
Stable temperature helps achieve cleaner and smoother results.
7. Keep the Printer Clean
Printer maintenance is essential for consistent surface finish.
Dust, cured resin particles, or damaged FEP film can easily create surface defects.
Maintenance checklist:
- Clean the resin tank regularly
- Filter resin before reuse
- Inspect and clean the build plate
- Replace worn or cloudy FEP film
Even tiny contaminants can cause bumps or uneven textures.
8. Wash Printed Parts Properly
Post-processing greatly influences the final finish.
Improper washing can leave sticky surfaces or dull textures.
Best washing practices:
- Use clean isopropyl alcohol
- Avoid overwashing
- Gently agitate parts during cleaning
Overexposure to alcohol may soften surfaces or damage details.
9. Cure Parts Evenly
Curing solidifies the print and improves surface quality.
Uneven curing may create discoloration, brittleness, or surface inconsistencies.
Helpful curing tips:
- Rotate parts during curing
- Follow recommended curing times
- Avoid excessive curing
Balanced curing maintains smoothness and structural integrity.
10. Sanding for a Perfect Finish
If you want a near flawless surface, sanding is highly effective.
Resin prints respond very well to light sanding.
Sanding approach:
- Begin with fine grit sandpaper such as 600 or 800
- Move to higher grit such as 1000 to 2000
- Wet sanding helps prevent scratches
Sanding removes small imperfections and prepares parts for painting or coating.
11. Polishing and Surface Coatings
Polishing can further enhance smoothness.
Applying coatings can transform the final appearance.
Popular finishing options:
- Clear coat spray
- Resin polishing compounds
- UV protective finishes
Coatings improve aesthetics and add surface protection.
12. Improve Surface Finish Through Smart Design
Surface quality begins at the design stage.
Certain shapes and structures naturally produce better finishes.
Design suggestions:
- Avoid extremely thin walls
- Add gentle curves instead of sharp edges
- Consider orientation while designing
Good design reduces the need for heavy post-processing.
13. Use High Quality 3D Printing Materials
Consistent quality requires reliable materials.
Premium 3D printing materials offer better curing stability, smoother textures, and fewer defects.
Investing in quality materials often saves time, reduces failed prints, and improves final results. This is why Mech Power prioritizes material quality for every resin printing project.
14. Consider a Professional 3D Printing Service
For businesses or projects requiring high precision and flawless surfaces, working with a trusted 3D printing service can be highly beneficial.
Professional providers offer:
- Industrial-grade resin printers
- Optimized machine settings
- Advanced finishing processes
- High-quality materials
This approach ensures reliable results without trial and error.
Why Surface Finish Is Important
A smooth surface finish offers many practical advantages:
- Better visual appeal
- Improved fit and functionality
- Easier painting and coating
- Enhanced product quality perception
In many industries, surface quality directly affects customer satisfaction.
Final Thoughts
Achieving the best surface finish with resin 3D printing does not require complex techniques. Most improvements come from small adjustments and consistent practices.
To summarize:
- Select the right resin
- Use optimal layer height
- Fine-tune exposure settings
- Orient models correctly
- Maintain printer cleanliness
- Follow proper washing and curing steps
With the right approach, resin printing can produce extremely smooth and professional-quality parts.
At Mech Power, we believe that combining the right technology, materials, and expertise is the key to delivering outstanding resin 3D printing results.