 Sign up with Google
 Sign in with Zoho

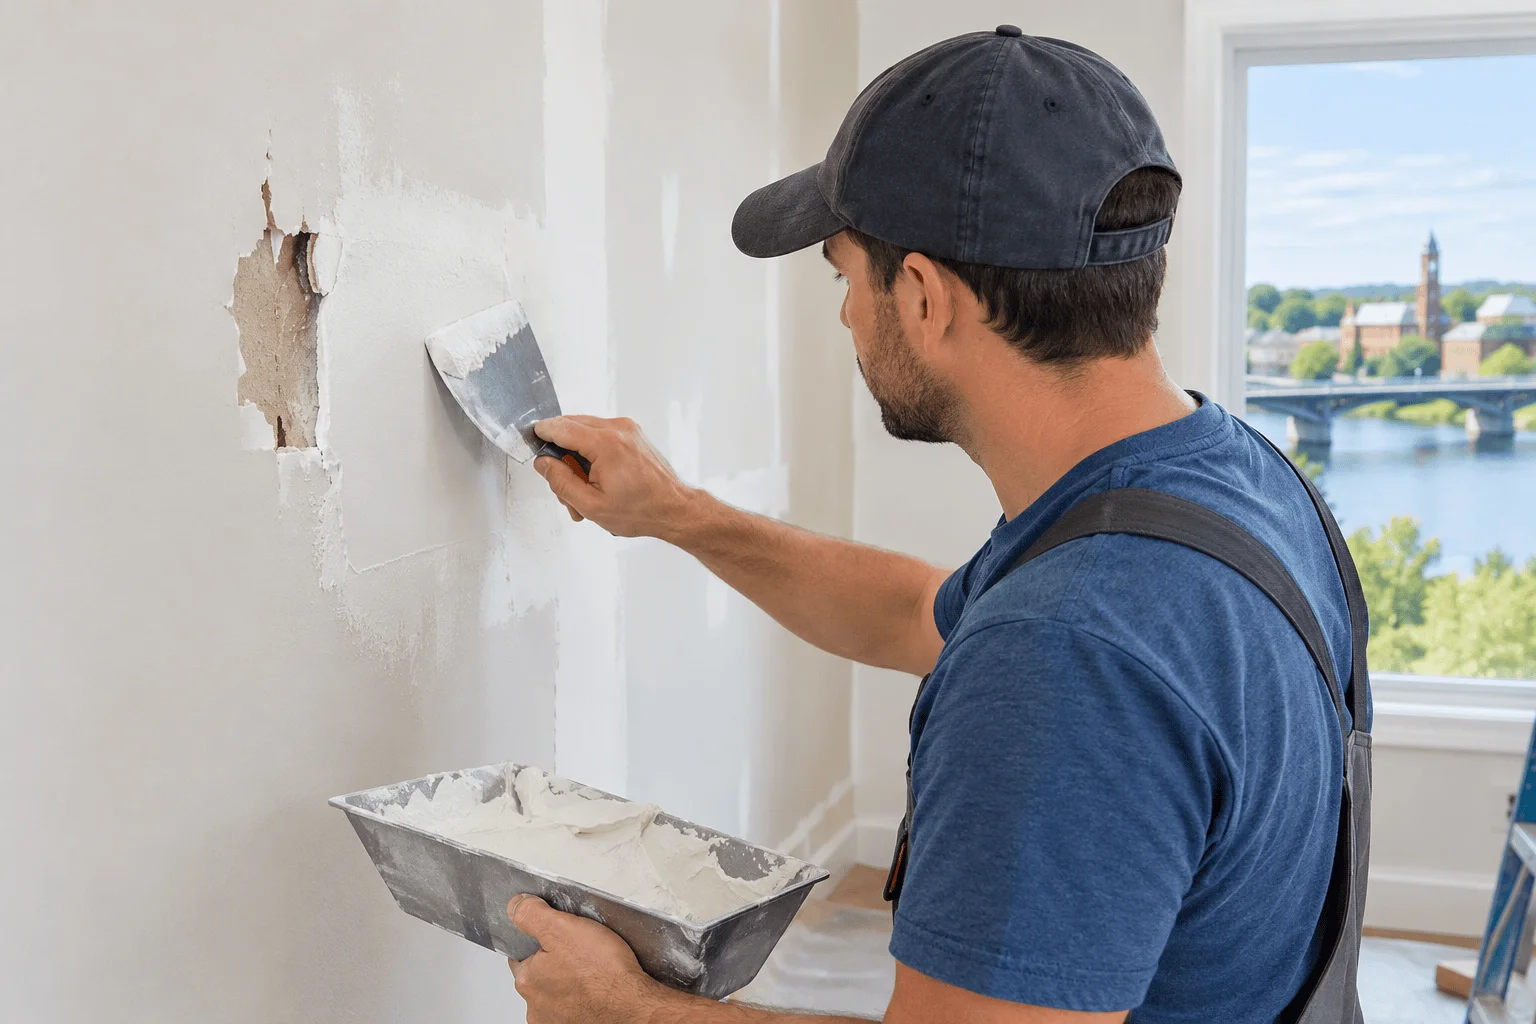
Damaged drywall can make a room look neglected, but the visible mark is not always the whole problem. A small hole may need a simple patch, while a spreading crack or brown ceiling stain can point to movement or moisture that must be addressed first. Repairing the surface without understanding the cause often leads to the same defect returning after paint has dried.
Homeowners looking into drywall repair in Ottumwa, IA should begin by identifying the type of damage and whether it is changing. Note the size, location, and shape of the defect, and check for dampness, softness, odor, or nearby plumbing and roof concerns. This basic assessment helps determine whether the issue is cosmetic or whether further investigation should come before patching and repainting.
Common Types of Drywall Damage
Small nail holes and shallow dents often result from hanging pictures, moving furniture, or everyday use. Larger holes require a patch that is supported by the surrounding wall, rather than simply filling the opening with compound. The repair method depends on the size of the hole and the condition of the board around it.
Cracks can form along seams, corners, or areas affected by building movement. The drywall repair should not be treated as a structural diagnosis; significant or progressive movement may require evaluation of the underlying cause.
Water stains, bubbling paint, soft drywall, and crumbling edges can indicate a leak or past moisture exposure. If the area is actively wet, repeatedly becomes stained, or has a persistent musty odor, do not cover it with new drywall and paint. Moisture-damaged materials may need removal, and suspected microbial growth should be assessed and handled appropriately.
How a Lasting Repair Is Completed
A repair begins with checking the surrounding surface and removing loose, crushed, or unsound material. A larger opening may need a drywall patch, backing support, tape, or a replacement section cut to fit. Common approaches include mesh patches for smaller openings and California patches for larger repairs where appropriate. The goal is to create a stable repair that does not flex or leave a raised edge.
Joint compound is applied and feathered beyond the damaged area so the transition is less visible. Once dry, the surface is sanded carefully and inspected under good lighting. Over-sanding can damage the paper face, while inadequate feathering can leave a noticeable hump after painting. Drying time between compound coats should follow the manufacturer's guidance, and many products require about 24 hours between coats depending on temperature, humidity, and application thickness.
Texture matching can be one of the most difficult parts of a repair. Even when the texture is close, fresh paint may look different because the existing wall has aged or faded. Painting from corner to corner, rather than only over the patch, can sometimes produce a more consistent appearance.
For repairs that need to blend into an existing wall, the finish level achieved before texture and paint is an important part of making the patch less noticeable.
Questions to Ask Before Work Begins
Describe when the damage appeared and whether it has changed. Ask whether the estimate covers removal of damaged material, backing, taping, texture, primer, paint, and cleanup. If matching existing paint is important, confirm who supplies the color information and whether a test patch is needed.
For a rental property or a home being prepared for sale, identify the desired finish and timing. A quick cosmetic touch-up may not be suitable when moisture or movement is unresolved. A clear scope should separate the visible repair from any additional work required if hidden damage is discovered after opening the wall.
Preventing Repeat Damage
Use anchors appropriate for the wall and the weight of the item being hung. Maintain caulking and plumbing fixtures where appropriate, and respond quickly to roof, window, or pipe leaks. Use ventilation in rooms that produce moisture and correct persistent humidity issues rather than repeatedly repainting stained areas.
After a repair, allow compound and primer to dry as directed before applying finish paint. Keep furniture from rubbing against newly repaired corners, and monitor any crack that previously returned. If the same defect reappears, investigate why instead of applying another surface patch.
Conclusion
A clean drywall repair should restore the surface and address the reason it was damaged whenever that reason is known. Before arranging drywall repair in Ottumwa, document the defect, check for moisture, and share the history with the person completing the work. Proper preparation, careful blending, and suitable finishing help the repair look natural and last longer.