 Sign up with Google
 Sign in with Zoho

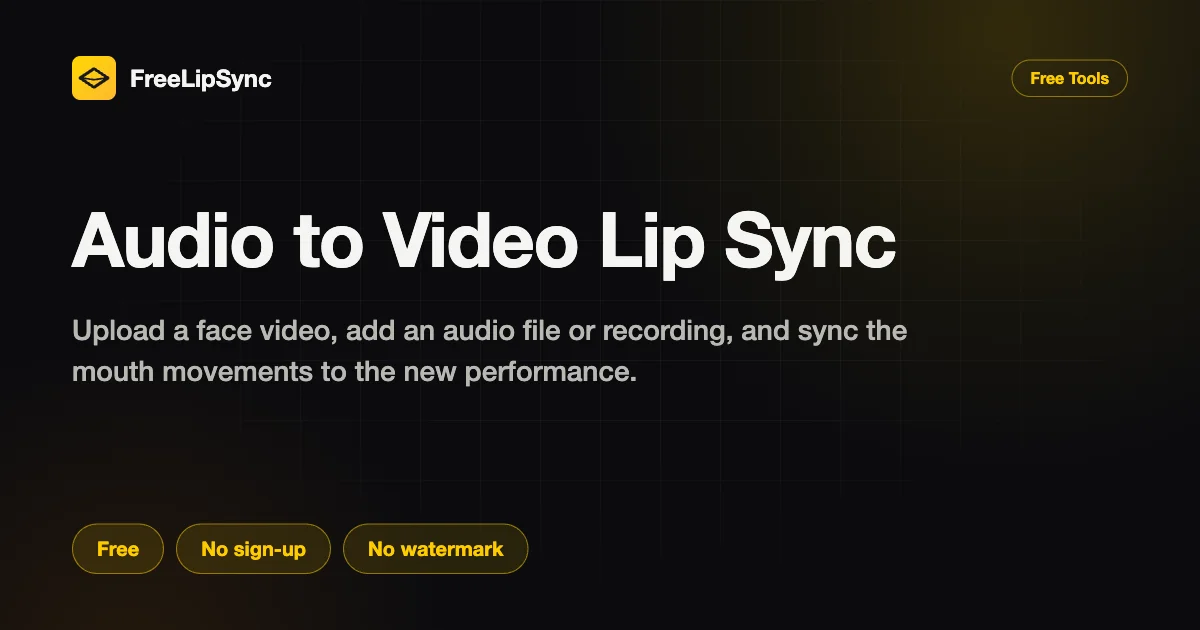
Fix one wrong sentence without re-filming: re-record the line and let AI lip-sync match it to your existing footage.
Here is a small, annoying problem. The take is good. The light is fine, the framing works, the person on camera looks relaxed. And then, buried somewhere in the middle, one sentence is wrong. A name gets mangled. A truck goes past the window at exactly the wrong second. Or the line is technically fine, but the speaker hates how it sounds and wants it said differently.
The usual reaction is to sigh and set the camera up again. Most of the time, that is overkill. If the footage itself is still good, you can record just the problem sentence on its own and use an AI lip-sync tool to fit the speaker's mouth movements to the new audio. The picture stays. Only the words change.
It works for more than corrections, too. Talking-head videos are the obvious case, but the same trick covers interview clips, tutorials, podcast excerpts, and second-language versions of a video you have already shot. The catch, if there is one, is that the replacement audio has to be good. The tool can only work with what you hand it.
When this is actually worth doing
Plenty of audio problems do not justify a reshoot. A few seconds of trouble is usually all there is.
Say the presenter gets a product name wrong, or swallows a word, or simply changes their mind about how a sentence should go. Rebuilding the whole setup to fix eight words makes no sense when the corrected line can be recorded at a desk in two minutes.
Noise is the other classic. A microphone pop. A chair scraping. Somebody's dog deciding that this exact moment is barking time. If the rest of the recording sounds clean, replacing the damaged stretch beats throwing away a good performance.
Then there is the language version. The video exists in English, and now it needs to exist in Japanese or Spanish as well. Record the new voice track, keep the original picture. Nothing about the visuals has to change.
Podcast and interview clips benefit in a quieter way. One answer comes out muddy, or a sentence needs tightening before the clip can go public. A clean replacement recording can rescue a clip that would otherwise sit unused, as long as the speaker's face is clearly on camera.
Different problems, same shape: the video is fine, the sound is not, so you fix the sound.
Before you upload anything
Start with the video itself. You want a speaker whose face is properly visible, ideally facing the camera or close to it. Profile shots give the tool much less to work with. One person, mouth uncovered, nothing waving around in front of their face.
The common formats are MP4, MOV and WebM, so most camera and screen-recording exports are fine as they are.
For the new audio, MP3, WAV, M4A, AAC, OGG and FLAC are all accepted. If you would rather not mess around with a separate recording app, you can also record straight into the browser.
Now the part people get wrong, so read it twice. The tool does not reach into your video, swap one sentence, and politely leave everything else alone. It replaces the entire original audio track with the file you give it. Everything. Music, room tone, the other person's questions, all of it goes unless it is in your replacement file.
So if only one line is changing, your replacement audio has to contain the complete soundtrack you want in the finished video, including every part that was already fine. And back up the original file before any of this. Keep an untouched copy somewhere safe. Future you will be grateful.
Step 1: Pick the right stretch of footage
Find the section where the speaker faces the camera and their mouth is not hidden behind a microphone, a hand or a coffee cup. Plain talking-head footage is the easiest starting point there is.
Run through this quickly before you upload:
The face is clearly visible.
The mouth is not covered or blurred out.
The camera is not whipping around.
The speaker talks at a fairly steady pace.
The original file is backed up somewhere.
That is the whole checklist. You are not re-recording the video. That is rather the point.
Step 2: Record the replacement line
This is where the result is really decided.
Suppose the presenter recorded: "The main advantage of this model is its compact design." And suppose the word should have been "lightweight." One word. Record the corrected sentence separately, and pay attention to how it sits against the sentences around it, because volume, speed and rhythm all give the game away if they suddenly shift.
If other parts of the speech need to survive, build the full replacement track, not just the patch. The original soundtrack is going as a whole, remember.
A few habits help more than you would expect:
Record in the quietest room you have. Windows shut, traffic out.
Switch off fans and air conditioning. A low hum sounds like nothing live and like a jet engine next to a clean take.
Stay at the same distance from the microphone as the original recording. Closer sounds boomy, farther sounds thin.
Match the pace. A rushed sentence dropped into a calm delivery sticks out immediately.
Record two or three takes and actually listen to them. The steadiest take usually beats the most enthusiastic one.
You do not need a perfect impersonation of the original performance. You need something that sounds like it belongs in the same room, on the same day.
Step 3: Upload both files
Once both files are ready, open match video lip movements to a voice recording.
FreeLipSync runs in the browser, so there is nothing to install, and you do not need to register before generating. Upload the video, upload the new audio, and double-check you picked the right versions, especially if your downloads folder currently holds take one through take six.
How much audio you can use depends on the plan:
Free, up to 20 seconds.
Starter, up to 3 minutes.
Pro, up to 60 minutes.
Twenty seconds sounds short, but for a single corrected line it is often enough. Recording directly in the browser works too, if your file is not handy.
Step 4: Generate
Press the button and the engine goes through the video frame by frame, reshaping the visible mouth movements so they follow your new recording. The face, the setting, the gestures all stay exactly as filmed. Only the mouth and the sound change.
This is also precisely how the translated version works, by the way. There is no separate dubbing workflow to learn. New language, new audio file, same footage, same steps.
Step 5: Preview it. Properly.
Do not skip this, and do not just watch the middle.
Sentence beginnings and endings are where things look off, so watch those. Does the mouth settle naturally when the line starts? Does anything keep moving after the sound stops? Then listen with fresh ears: is the new line louder than its neighbours, faster, oddly separated by a pause that was not there before?
If something sounds wrong, the fix is almost never another generation. It is a better recording. Go back to step two, record it again, and save yourself the loop of regenerating with the same flawed file.
Step 6: Download and keep everything together
Happy with it? Download the finished video. Downloads come without a watermark; the free download is a lower-resolution version and you will need to log in to grab it.
Keep the original footage, the replacement audio and the finished file in the same folder. When a second line needs fixing next month, and it will, you will know exactly where everything lives.
The small stuff that gives edits away
Lip sync handles the mouth. It cannot disguise a recording that obviously happened somewhere else.
Microphone distance is the big one. A replacement line that sounds much closer or much farther away than the surrounding speech will feel pasted on, even when the mouth movements line up well.
Rooms have a sound, too. A quiet bedroom and a big echoey office do not blend, no matter how clean each recording is on its own.
And rhythm. Speakers pause before important words, speed up through boring ones. If the original had a little beat before a key term, leave a similar beat in the replacement. Racing through the line just to get it over with is how edits announce themselves.
Footage that fights back
Realistic expectations help. A front-facing clip of one person speaking steadily is easy mode, and it is worth starting there.
Side angles are harder, simply because less of the mouth is visible. Two people talking over each other is harder still, since matching one voice to the right mouth gets messy fast. Loud background music creates a different headache: the music is part of the original track, the original track is being replaced entirely, so anything you want to keep has to be inside your new audio file. And a replacement recorded at a totally different tempo from the original performance may never quite settle, however tidy the sync looks.
None of that makes the method weak. It just means busy, heavily edited footage is the wrong place to learn it.
So, worth it?
For one wrong line, almost always. Filming again means the room, the light, the setup, the performance, everything, for the sake of a sentence. Recording the sentence again takes minutes.
The real work happens before you ever press generate: a clear clip, a quiet room, a pace that matches, and a replacement file that contains the whole soundtrack, not just the patch. Get those right and the technology side is honestly the easy part. Get them wrong and no tool will save it. That is a fair trade, and for talking-head footage, a genuinely useful one.