
 Sign up with Google
 Sign in with Zoho

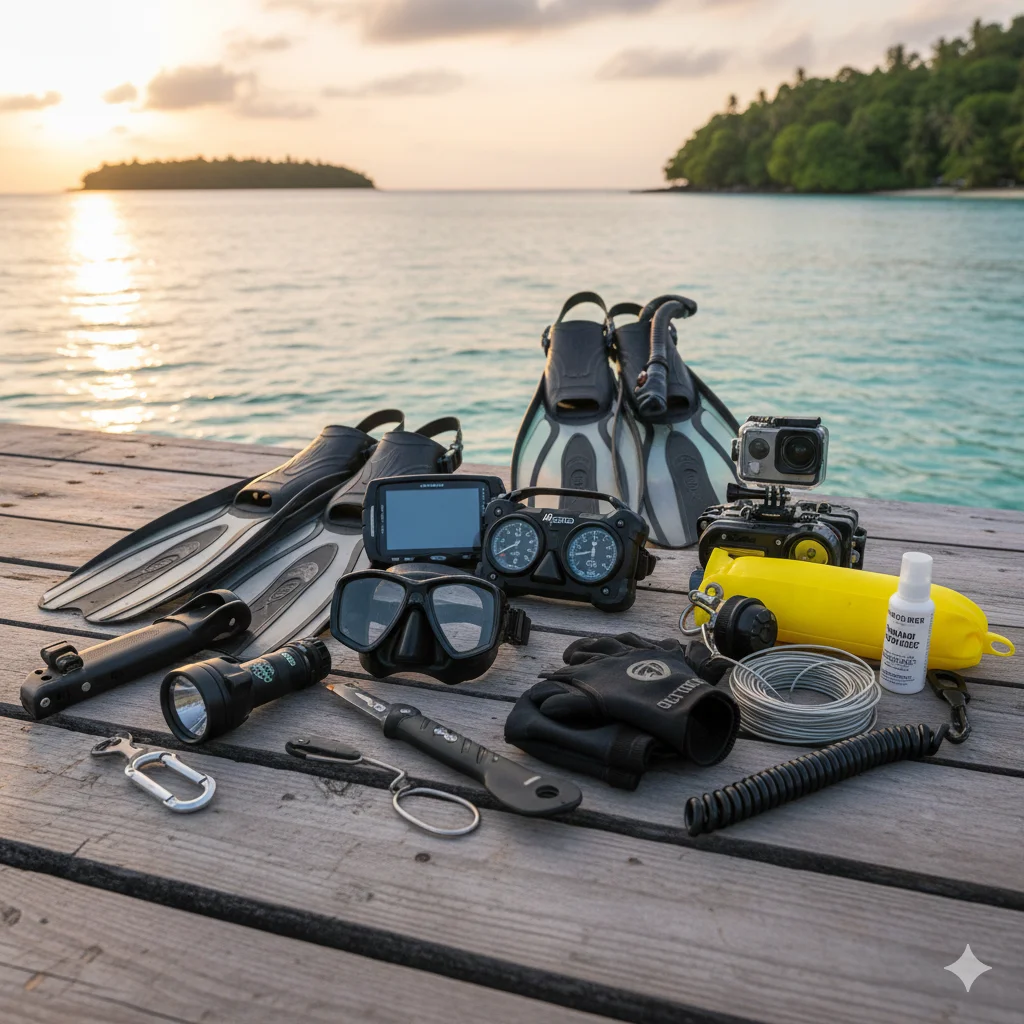
Jumping into the midnight ocean to shoot the psychedelic glow of life beneath the waves can be extremely exciting but if the end result is a blurry, washed-out blue mess, then all that excitement will turn into disappointment.
In order to successfully photograph these elusive colors, one must be armed with a special dual-filtration system that blocks out background light selectively and lets the target colors through.
And anyone wishing to document these spectacular midnight light shows with crisp, professional precision must learn how to correctly mount, calibrate, and care for a premium fluorescence fluorescent camera filter as the foundation of success.
At A Glance
● The Dual-Filter Principle: Learning how to coordinate your strobe's light output with your camera lens barrier to reveal hidden colors.
● Securing Waterproof Threads: Understanding how to properly mount wet-lens accessories underwater without trapping air pockets.
● Calibrating Sensor Exposure: Figuring out the ideal camera setting adjustments required to compensate for dark filtration.
Fluorescence Fluorescent Camera Filter: How Do You Even Use One?
● The Dynamic Wavelength Coordination Process
To get perfectly clean color separation underwater, you have to understand the different ways light waves interact with the camera gear. For example, a yellow barrier lens can’t create glowing images on its own; it relies 100% on a special blue excitation filter placed over external strobes or video lights.
When the blue light strikes the reef, the chemical proteins inside the coral absorb that energy and instantly emit a completely different, lower-energy color wavelength. Consequently, by locking a yellow shield directly onto the camera housing, the lens blocks the bouncing blue backscatter while allowing the neon greens and fiery oranges to pass through safely.
Coordinating this exact light pathway with a fluorescence fluorescent optical setup is what prevents the photos from looking like a foggy, over-saturated blue wash.
● Mounting Wet-Filters Correctly to Avoid Visual Glare
Once the science of the light path is clear, the physical attachment of the barrier glass requires a specific mechanical routine during the descent. Because these glass plates are designed as "wet lenses," they are meant to be threaded onto the exterior of the camera housing port directly inside the ocean water.
However, as a diver submerges, tiny air bubbles often get trapped in the tight spaces between the housing glass and the filter frame. These microscopic pockets act like small lenses, bending light randomly and introducing nasty reflection artifacts into the final shot.
Therefore, swiping the filter surface clean underwater and securing it tightly to the housing ensures that your fluorescence fluorescent lens modifier remains perfectly clear and bubble-free for the entire dive.
● Adjusting Camera Exposure Settings for Maximum Color Punch
Because a yellow barrier lens cuts out a massive percentage of ambient light, the camera sensor will struggle to see in the dark unless you manually adjust the exposure.
For instance, leaving the camera in full automatic mode will often result in a confused focus-hunting cycle or an insanely grainy image. Shifting into manual control allows you to bump up the ISO sensitivity and widen the aperture to let those faint, glowing signals hit the sensor effectively.
Additionally, using a low-powered blue spotting light helps the camera's autofocus lock onto the target reef before the high-powered main strobes fire. Balancing these internal camera tweaks alongside your fluorescence fluorescent hardware ensures that every hidden color is captured with maximum contrast and zero digital noise.
Wrapping Up
Photographing the dazzling, secret colors of marine life at night requires working outside of everyday camera equipment and utilizing filtration designed for the task.
Plain white flashes or untested glass plates will only yield dark, muddy frames, missing out on the magic of the deep reef completely.
When the time comes to remove annoying glare, capture crisp biological details, and choose the camera for underwater photography setup, buying dedicated light modifiers is the single best way to go home with perfect, high-quality images.