 Sign up with Google
 Sign in with Zoho

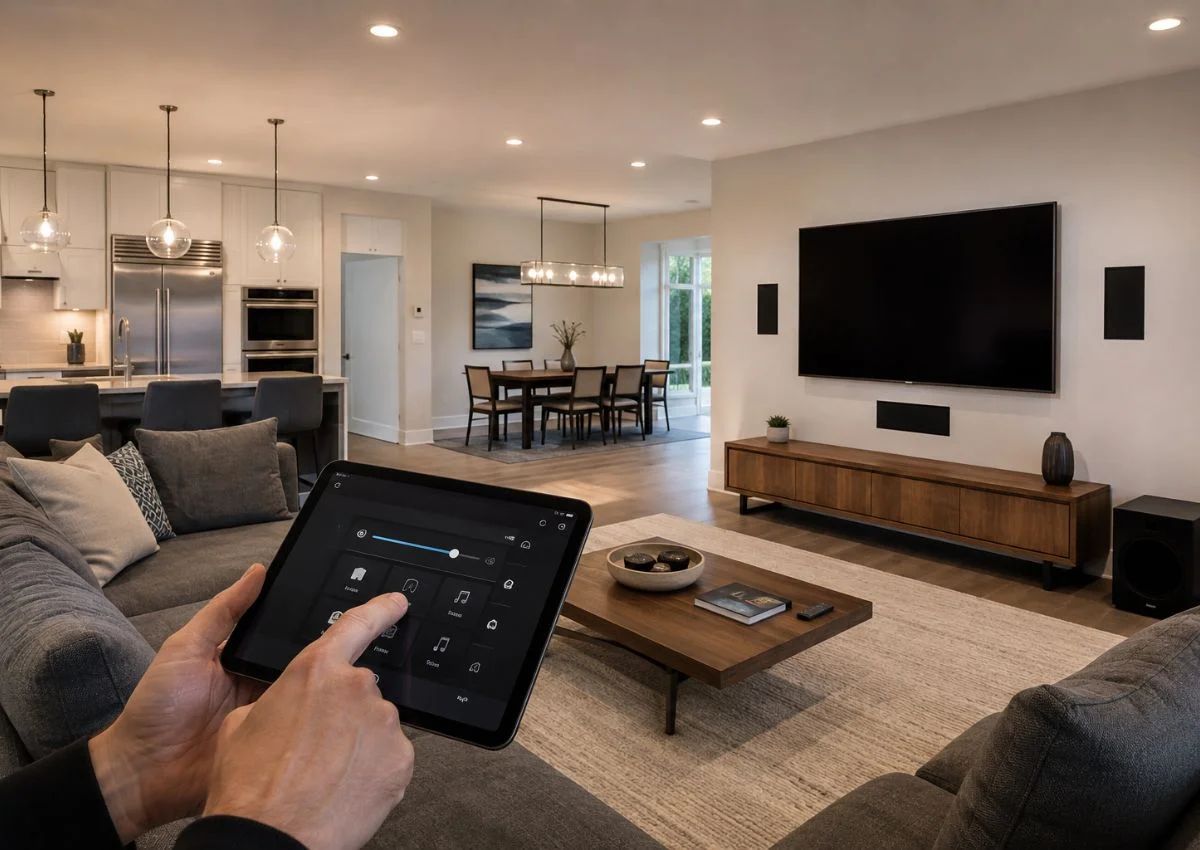
A whole-home audio system can sound simple in theory, but the installation becomes more complicated when you account for multiple rooms, cable routes, amplifiers, network connections, speaker placement, and equipment control. Professional sound system installation is not simply about choosing good speakers. It is about making every part of the system work together reliably without creating unnecessary clutter or future maintenance problems.
Many audio systems look impressive on paper but fail to deliver consistent performance because the planning was rushed. The speakers may be excellent and the amplifiers powerful, yet poor wiring, unsuitable placement, weak network coverage, or inadequate ventilation can affect the entire experience.
Here’s how to approach a whole-home audio installation properly.
Plan Your Multi-Room Audio System First
Before purchasing equipment or running cables, determine how you want the system to operate. Good planning can prevent expensive changes later.
Define Your Audio Zones
Start by dividing the property into audio zones. A zone may be one room or several connected spaces that will normally play the same content.
Typical zones might include:
- Living room
- Kitchen and dining area
- Bedrooms
- Home office
- Patio or garden
Consider how each space will be used. A kitchen may only require clear background music, while a living room might need stronger stereo performance for movies and dedicated music listening.
There is no need to make every room identical. The objective is to match the audio setup to the purpose and acoustics of each space.
Choose Speakers, Amplifiers and Controllers
A multi-room system generally includes speakers, amplifiers, source devices, network equipment, and a controller or mobile app.
Speaker sensitivity, room dimensions, listening distance, and desired volume should influence your equipment choices. Amplifier selection should also account for the number of channels and zones required.
Avoid choosing an amplifier based solely on its wattage rating. Leave some capacity for future expansion rather than operating the system close to its limits.
Plan Wiring and Infrastructure
Wiring is one of the areas where professional planning makes a significant difference.
Prewire During Construction or Renovation
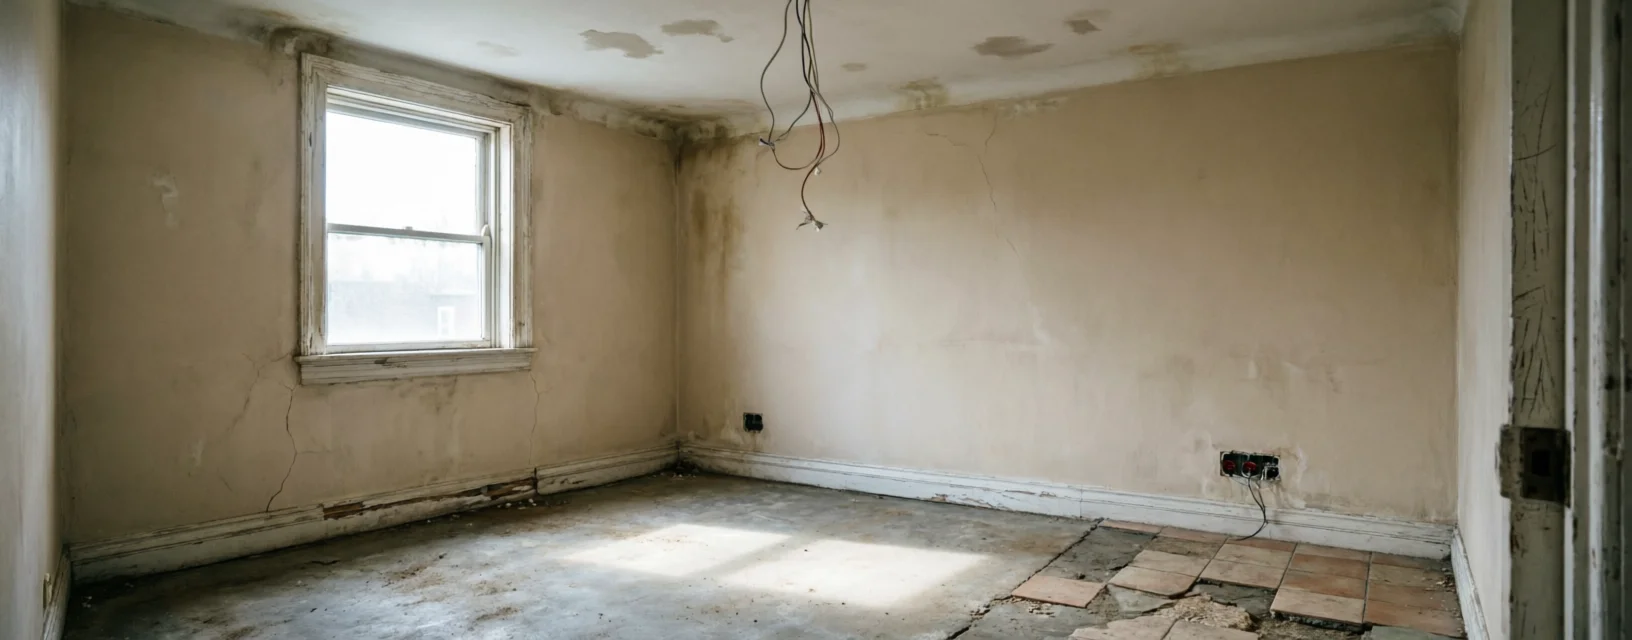
If possible, install audio wiring while the property is being built or renovated. Cables can be routed through walls and ceilings before drywall and finishes are completed, resulting in a cleaner installation.
Retrofitting an existing property is still possible, but the installer may need to work around insulation, plumbing, electrical wiring, and structural supports.
Use suitable speaker cable for the installation environment and comply with applicable building requirements. Where practical, keep audio wiring separated from mains electrical cables to minimize potential interference.
Label both ends of every cable. When multiple identical cables reach a central equipment cabinet, proper labeling can save significant troubleshooting time later.
Consider Wireless Audio
Wireless speakers can be useful when running new cables would require extensive construction. They can provide excellent convenience for everyday listening, but wireless does not mean infrastructure-free.
Each speaker still requires reliable power and a stable Wi-Fi connection. If network coverage is weak in a particular room, wireless audio performance may suffer as well.
Consider Network and Power Requirements
Modern multi-room audio systems often depend heavily on the home network. Position Wi-Fi access points carefully and avoid assuming that a single router will provide reliable coverage throughout a large property.
Power requirements also deserve attention. Amplifiers, receivers, streamers, and network equipment can generate considerable heat. The equipment area therefore needs adequate ventilation.
Avoid placing several high-powered components inside a completely sealed cabinet simply to keep the installation looking tidy.
Organize the Equipment Rack
A centralized rack or cabinet can make a whole-home system easier to maintain and troubleshoot.
Mount Equipment Correctly
Secure rack-mounted equipment properly and follow the manufacturer's ventilation recommendations. Receivers and amplifiers require sufficient airflow to dissipate heat.
When several amplifiers operate together, heat management becomes particularly important because excessive temperatures can affect equipment reliability over time.
Manage and Label Cables
Clearly label speaker connections, network cables, source devices, and amplifier channels. Good cable management is not just about appearance; it makes future servicing much easier.
Leave enough cable slack to remove equipment without stressing connections, but avoid excessive cable loops that make the rack difficult to access.
Install Speakers for the Room
Speaker placement has a major influence on audio performance.
In-Wall and In-Ceiling Speakers
For in-ceiling speakers, consider the primary listening areas rather than simply choosing an available ceiling location. In-wall speakers should similarly be positioned around furniture layouts and typical listening positions.
Symmetrical placement can be helpful for stereo listening, but the room's shape and intended use should ultimately determine the arrangement.
Always check manufacturer clearance, mounting depth, and installation requirements before cutting into a wall or ceiling.
Indoor and Outdoor Speakers
Freestanding speakers offer flexibility and can be repositioned easily. In-wall and in-ceiling models provide a cleaner appearance but require more planning.
Outdoor speakers need additional protection. Choose products designed for outdoor conditions and consider exposure to rain, humidity, sunlight, and other environmental factors.
Configure and Calibrate the System
Hardware installation is only part of the process. Each component must be configured correctly.
Set Up Zones and Controls
Connect amplifiers, streamers, and controllers to the network, then assign them to the correct rooms or zones.
Use clear names such as “Kitchen,” “Master Bedroom,” or “Patio.” This makes the system easier for everyone in the household to operate.
If the system supports independent zones, test whether different rooms can play separate sources simultaneously.
Use Room Correction Carefully
Room correction technologies such as Audyssey and Dirac can help compensate for acoustic problems caused by room dimensions, reflections, and speaker placement.
However, calibration should not be viewed as a replacement for good installation. Digital correction can improve an appropriately designed system, but it cannot completely solve poor speaker positioning or major acoustic problems.
Placement comes first. Calibration comes afterward.
Test Every Zone Before Completion
Before considering the installation complete, test each room individually.
Play different sources across multiple zones and verify volume control, source selection, network connectivity, and app responsiveness. Check that every speaker produces consistent sound.
Listen at low, medium, and higher volumes and watch for distortion, buzzing, dropouts, or uneven output.
If one speaker sounds weaker than another, check the cable, amplifier channel, connections, and configuration before replacing the speaker.
The best whole-home audio systems are not necessarily those with the most expensive equipment. They are the systems that were carefully planned, professionally installed, properly configured, and tested room by room.