Snowflake Analytics is a powerful cloud data platform that enables organizations to store, analyze, and manage vast amounts of data quickly and securely. Known for its unique multi-cloud architecture, Snowflake provides flexibility, scalability, and seamless integration with existing tools, making it a top choice for data-driven companies. This guide will walk you through the steps needed to set up Snowflake Analytics, ensuring a smooth and effective implementation that benefits your entire organization.
Step 1: Establish Your Data Strategy
Before setting up Snowflake, it’s essential to define a clear data strategy. Determine what your organization hopes to achieve with Snowflake Analytics, whether it's real-time insights, data-driven decision-making, or enhancing operational efficiency. Establishing these goals will help you configure Snowflake in a way that best aligns with your objectives. It’s also important to evaluate your existing data sources, so you know what data will flow into Snowflake and how it will be used across departments.
Step 2: Select the Right Snowflake Edition
Snowflake offers various editions based on features and performance requirements, including Standard, Enterprise, Business Critical, and Virtual Private Snowflake (VPS). Each edition includes different levels of data security, support, and computing capabilities. For example, if you need robust data governance and enhanced security for compliance, consider opting for Business Critical. Assess your organization's needs carefully, as selecting the right edition is a key step in optimizing both performance and cost.
Step 3: Set Up Your Snowflake Account
Once you've chosen an edition, set up your Snowflake account. Snowflake operates on a cloud-based infrastructure, so you’ll need to select a cloud provider—AWS, Azure, or Google Cloud—based on your organization’s preference or existing infrastructure. After creating an account, log in to Snowflake’s web interface, where you can configure your organization's account settings, including permissions, storage locations, and data regions.
Step 4: Define User Roles and Permissions
Snowflake’s role-based access control (RBAC) system lets you assign specific permissions based on job functions and security requirements. Define user roles that align with your organization's structure, such as data analysts, data engineers, and admins, then assign permissions accordingly. This step is critical for maintaining data security and governance, as it ensures that sensitive information remains accessible only to those with proper authorization.
Step 5: Integrate Data Sources and Load Data
To start gaining insights, connect your data sources to Snowflake. Snowflake integrates with a range of tools, including ETL (Extract, Transform, Load) solutions like Fivetran, Informatica, and Talend. You can also use Snowpipe, Snowflake's continuous data ingestion service, to load streaming data in real time. Once your data sources are connected, load historical data to establish a baseline and start analyzing trends.
Step 6: Optimize Performance with Virtual Warehouses
Snowflake's unique architecture uses virtual warehouses—clusters of compute resources that can be scaled independently of storage. Configure virtual warehouses based on the workloads and processing power required. For example, allocate larger warehouses for high-complexity tasks and smaller ones for less intensive operations. Snowflake’s elasticity lets you scale resources up or down as needed, optimizing performance and controlling costs.
Step 7: Set Up Security and Compliance Features
Security is a top priority in any data platform setup. Snowflake offers encryption, multi-factor authentication, network policies, and access controls to ensure data protection. For organizations with strict compliance requirements, leverage features like Snowflake’s Time Travel (for historical data recovery) and Data Masking (for sensitive information). Configure these settings based on your organization's regulatory requirements to maintain data integrity and privacy.
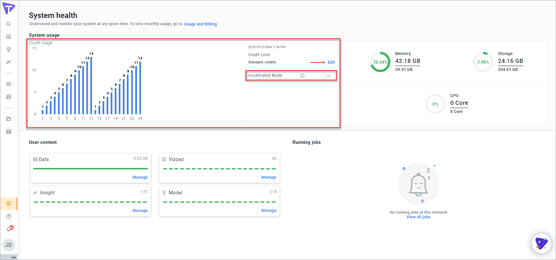
Step 8: Monitor and Refine Your Setup
After configuring Snowflake, monitor its performance regularly. Track metrics like query speed, user engagement, and data latency to ensure the platform meets your organization's needs. Snowflake provides comprehensive dashboards and tools for monitoring, so you can identify areas for improvement and optimize accordingly. Regular feedback from users can also help refine your setup to maximize its value.
Implementing Snowflake Analytics provides your organization with a scalable, powerful platform for data storage, processing, and insights. By following these steps, you’ll establish a robust Snowflake setup tailored to your organization’s specific needs, enabling data-driven decisions and growth.
.jpg)
.jpg)