 Sign up with Google
 Sign in with Zoho

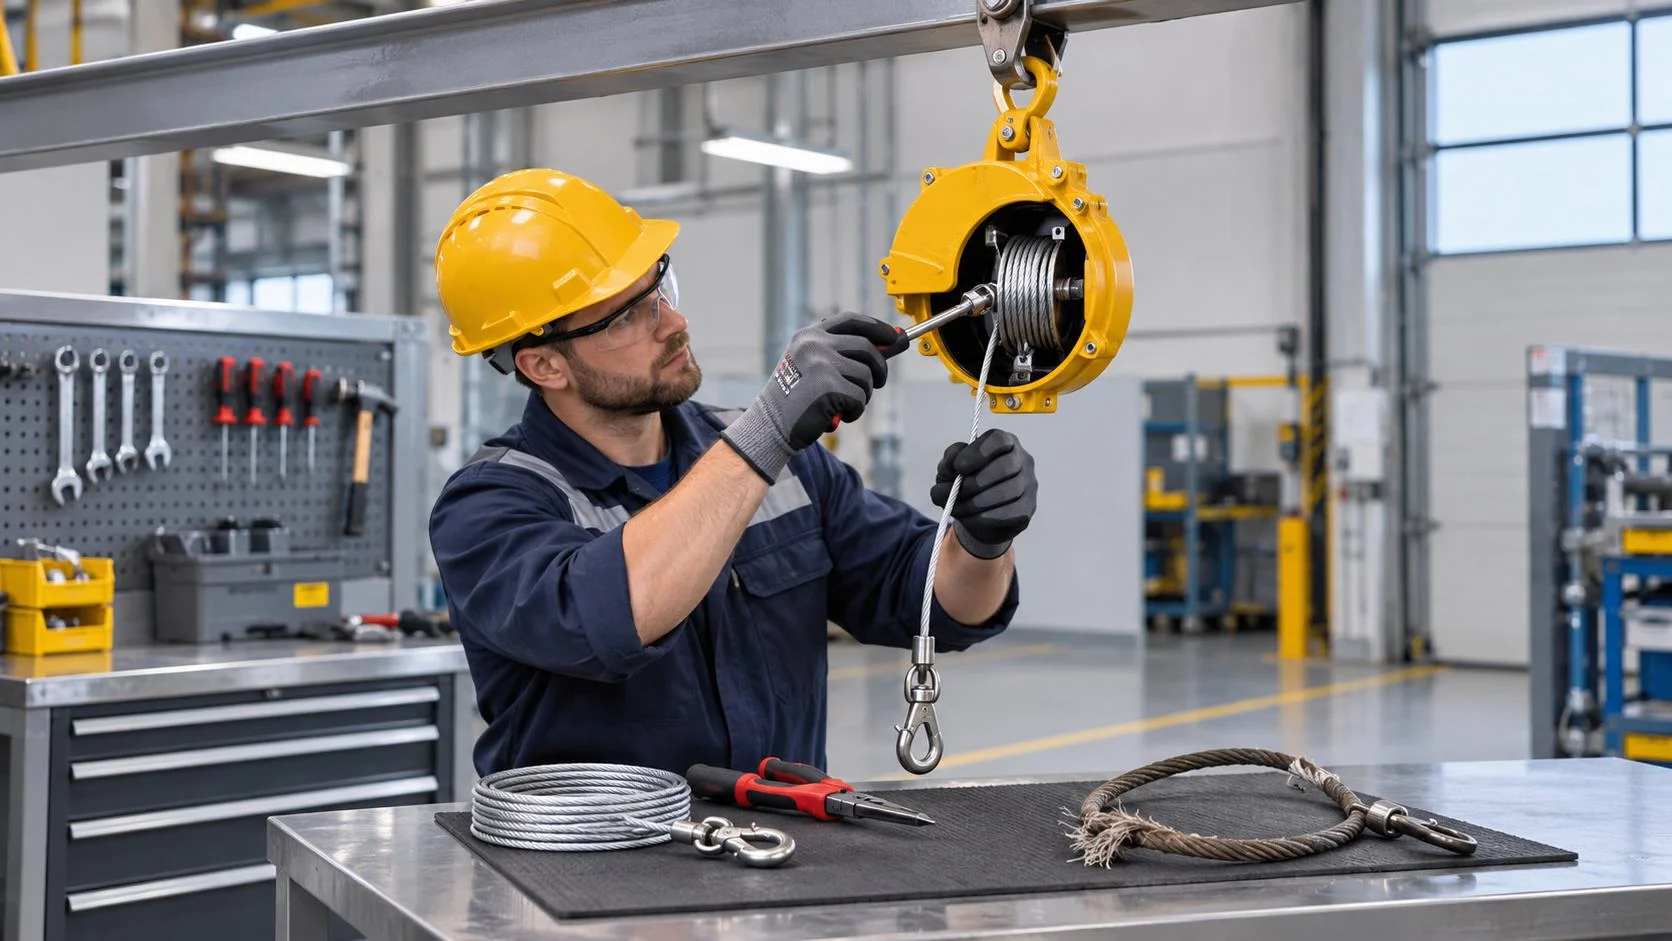
If you've ever held a heavy nutrunner or grinder at arm's length for a full shift, you know why tool balancers exist. They carry the weight so your shoulders don't have to. The cable, though, does most of the hard work. It gets pulled out and wound back in hundreds or thousands of times a day, and all that movement wears it down.
A worn cable isn't just a nuisance. If it snaps, a tool can drop or swing without warning. That's why replacing it at the right time, and in the right way, is one of the more important maintenance jobs on a production floor.
Why Tool Balancer Cables Wear Out
Think about a worker on an assembly line driving screws into car door panels. Every time they pull the tool down and let it go, the cable runs over the internal drum under tension. Do that 500 times a shift, five days a week, and even a well-made cable starts to tire.
Friction is the main culprit, but it isn't the only one. A balancer that's mounted slightly off-angle makes the cable rub against the housing on every cycle. Dust, coolant mist, moisture, and chemicals in the air can also eat into the wire over time.
Load matters too. Each of the spring balancers on the market is built for a specific weight range. Hang a 6 kg tool on a unit rated for 4 kg and the cable will wear out much faster than it should. This is why regular checks are worth the few minutes they take.
Signs Your Tool Balancer Cable Needs Replacement
The most obvious sign is fraying. You'll see small wire strands sticking out from the cable, sometimes called "birdcaging" when they bulge outward. Other red flags include:
- Rust or corrosion on the wire
- Spots where the cable looks thinner than the rest
- Kinks or bends that won't straighten out
- Unusual twisting along the length
Don't rely only on your eyes. Pay attention to how the tool feels in use. If the cable snags on the way up, feels stiff, or retracts in jerky stops and starts, something is wrong inside.
Here's the key rule: once a cable shows visible damage, take it out of service right away. Running it "just until the end of the week" is how accidents happen.
Prepare the Tool Balancer Before Replacing the Cable
Start by finding the model number and pulling up the maintenance manual. Balancers aren't all built the same way. Spring designs, cable fittings, and safety locks vary from brand to brand, so the steps for one won't necessarily work for another. Check whether the manufacturer allows cable replacement in-house or requires an authorized service technician.
Next, take the weight off the balancer. Support the tool on its own, using a stand or a second hoist, so nothing depends on the old cable. Disconnect electric or air power to the tool if it has any.
One thing to take seriously: the spring inside a balancer can store a lot of energy. Opening the housing or unhooking the cable without following the manual's safety steps can cause the spring to release suddenly. That can lead to real injury.
Choose the Correct Replacement Cable
It's tempting to grab any wire rope that looks about the same size. Don't. Each balancer is designed around a specific cable diameter, length, material, and end fitting. A cable that's slightly too thick can bind on the drum. One that's too thin may not hold the rated load.
Industrial tool retractors can go through thousands of cycles in a single production week, so the replacement has to handle that kind of repetition without stretching or wearing early. The safest move is to order the cable listed in the original equipment documentation, or one the manufacturer has approved for your exact model.
Secure the Balancer and Remove the Damaged Cable
With the tool supported separately, follow the manual to lock the balancer mechanism. Many models have a built-in lock or a specific procedure that stops the cable from moving while you work. Use it every time before you disconnect anything.
Once the spring energy is under control, an authorized technician can remove the old cable using the approved method. Some balancers use a cable assembly you can swap out fairly easily. Others need to go back to a service center. Either way, never yank the cable off the drum or try to let the spring unwind on its own.
Install the New Tool Balancer Cable
Route the new cable exactly as the manual shows. It needs to sit in its proper groove or guide, and every fitting should be fastened the way the manufacturer specifies. If the cable is routed wrong, you'll likely notice twisting, rubbing, or uneven movement within the first day of use.
This step matters even more on zero gravity models, since they're designed to hold the tool steady at any point in its range. Before switching anything back on, double-check three things: the cable is seated correctly, the attachment points are tight, and nothing got nicked or bent during installation.
Adjust Cable Tension Carefully
A new cable often means the balancer needs its tension reset to match the tool's weight. How you do this depends on the design. Some units have an easy external adjustment knob. Others need internal work by a trained technician.
Getting the tension right makes a real difference. Too much, and the tool shoots up when the operator lets go. Too little, and it sags and feels heavy, which defeats the whole purpose. Adjust in small steps, stay within the specified load range, and stop if the mechanism starts behaving oddly. At that point, it's time to call in qualified help.
Test the Tool Balancer After Replacement
Before the balancer goes back on the line, run through the manufacturer's inspection checklist. Pull the cable out and let it retract several times. It should move smoothly, with no catching, twisting, or grinding sounds. Check the fittings, the safety chain or secondary restraint, and any other parts you can reach.
Then test it with the actual tool attached. Move it through the full range the operator will use during a normal shift. It should feel steady and predictable all the way through. If anything seems off, even slightly, inspect it again before handing it back to the operator.
How to Prevent Premature Cable Wear
A few simple habits can add months to a cable's life:
- Inspect regularly. Look over the exposed cable for fraying and rust on the schedule your manufacturer recommends.
- Keep it aligned. Mount the balancer directly above the work area so the cable pulls straight, not at an angle.
- Don't overload it. Make sure the tool's weight, including attachments and hoses, falls within the balancer's rated range.
- Watch the surroundings. Remove sharp edges or brackets the cable could rub against.
If your workstation uses air hose balancers, give the hose the same attention. Look for scuffs, leaks, and loose connections. Small problems caught early are far cheaper than a failure in the middle of a production run.
When Should You Replace the Entire Tool Balancer?
Sometimes a new cable doesn't fix the problem. A weak or broken spring, a worn drum, a faulty lock, or a cracked housing can all make a balancer unsafe, no matter how good the cable is.
Keep an eye on how often you're replacing cables. If the same balancer goes through a new one every few weeks, the cable probably isn't the real issue. The unit might be mounted badly, carrying too much weight, or simply wrong for the job. In that case, a full inspection will tell you whether a repair makes sense or whether it's time for a new balancer. Fixing the root cause is what stops the cycle of repeated failures.
One honest note: no rewrite can guarantee a particular score on an AI detector, since those tools are inconsistent. If it still flags, adding a real detail from your own shop or customers (a specific model you service, a failure you've actually seen) will do more than any wording change.