 Sign up with Google
 Sign in with Zoho
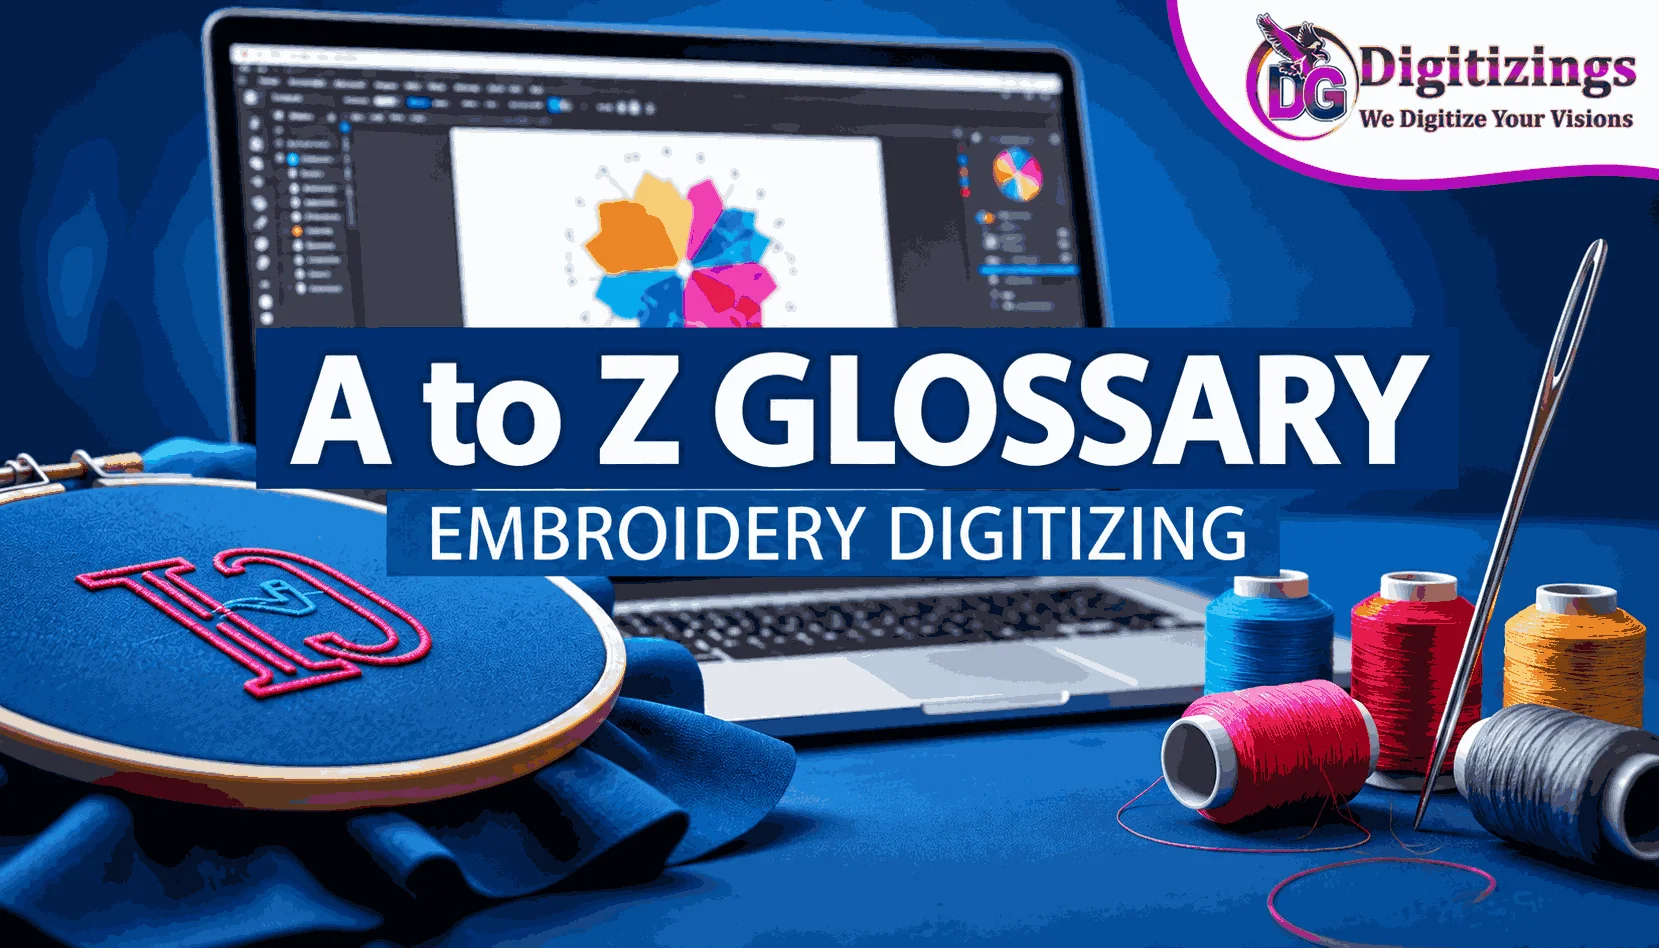
Embroidery digitizing has its own language. If you are new to machine embroidery, terms such as underlay, density, pull compensation, stitch types, and file formats can feel confusing at first.
Understanding these terms makes it easier to communicate with a digitizer, choose the right embroidery settings, prepare artwork, and understand why a design may stitch differently on various fabrics.
This A to Z glossary explains important embroidery digitizing terms in simple language. It is designed for beginners, embroidery businesses, apparel brands, and anyone who wants to understand professional embroidery digitizing better.
A – Appliqué and Auto-Digitizing
Appliqué
Appliqué embroidery combines fabric pieces with stitched embroidery. Instead of filling an entire area with thread, the digitized design uses fabric as part of the artwork.
Appliqué can reduce stitch counts while creating an attractive layered appearance. It is commonly used for jackets, shirts, uniforms, patches, and large designs.
Auto-Digitizing
Auto-digitizing uses software to convert artwork into an embroidery design automatically or with limited manual adjustment.
It can be useful for simple artwork, but automatic results often need editing. Complex logos, small details, lettering, and difficult fabrics usually require careful manual adjustments.
B – Backing and Bobbin
Backing
Backing, also called stabilizer, is placed behind or underneath the fabric during embroidery. It helps support the material and keeps stitches from shifting.
The correct backing depends on the fabric, design, stitch count, and embroidery method.
Bobbin
A bobbin holds the lower thread used by an embroidery machine. Bobbin thread works together with the upper embroidery thread to form stitches.
Correct bobbin tension is important because poor tension can affect the appearance of the finished design.
C – Cap Digitizing and Color Stops
Cap Digitizing
Cap digitizing is the process of preparing an embroidery design specifically for hats and caps.
Caps have curved surfaces, seams, and limited embroidery areas. A design that works well on a flat garment may require different stitch directions, sequencing, and compensation when used on a cap.
Color Stop
A color stop tells the embroidery machine when to stop stitching so the thread color can be changed.
Good sequencing can reduce unnecessary color changes and make production more efficient.
D – Density and Digitizing
Density
Stitch density refers to how closely stitches are placed within an embroidered area.
Too little density can leave gaps and produce weak coverage. Too much density can create bulky embroidery, stiffness, thread breaks, or fabric distortion.
A professional digitizer adjusts density according to the design and fabric rather than using the same setting everywhere.
Digitizing
Embroidery digitizing is the process of converting artwork into instructions that an embroidery machine can understand.
The digitizer decides stitch types, stitch directions, density, sequencing, underlay, compensation, and other technical details.
The goal is not simply to convert an image into stitches. The goal is to create a design that stitches cleanly and produces the intended appearance.
E – Embroidery File
Embroidery File
An embroidery file contains the information an embroidery machine needs to create a design.
Different machines use different file formats. Common formats include DST, PES, JEF, EXP, VP3, and others.
The correct file format depends on the embroidery machine or software being used.
F – Fill Stitch and Fabric
Fill Stitch
A fill stitch is used to cover larger areas of an embroidery design with rows of stitches.
Fill stitches can be adjusted through stitch direction, density, spacing, and other settings to create different visual effects.
Fabric
Fabric has a major effect on embroidery results.
Cotton, denim, fleece, knitwear, leather, towels, caps, and lightweight fabrics can all behave differently during stitching. Professional embroidery digitizing takes fabric characteristics into account.
G – Gradient and Garment
Gradient Embroidery
Gradient embroidery creates a gradual visual transition between colors or tones.
Because embroidery thread does not behave exactly like pixels on a screen, a digitizer must carefully plan color changes, stitch direction, and layering to create a convincing gradient effect.
Garment
A garment is the item being embroidered, such as a shirt, jacket, hoodie, uniform, or cap.
The garment type helps determine the appropriate digitizing approach.
H – Hoop and Hat Embroidery
Hoop
An embroidery hoop holds the fabric securely while the machine stitches the design.
Hoops come in different sizes. The available hoop size can limit the maximum embroidery area.
Hat Embroidery
Hat embroidery requires special attention because caps are curved and often contain seams.
Design placement, stitch direction, sequencing, and compensation can all affect the final result.
I – In-the-Hoop
In-the-Hoop
In-the-hoop projects are embroidery projects completed primarily inside the embroidery hoop.
They can include items such as small bags, ornaments, patches, key holders, and other embroidered products.
Digitizing for these projects requires careful planning of stitch order and construction steps.
J – JEF File
JEF
JEF is an embroidery file format commonly associated with Janome embroidery machines.
When preparing a design, the digitizer must export it in a format compatible with the intended machine.
K – Knockdown Stitch
Knockdown Stitch
A knockdown stitch is a layer of stitching used to flatten or control the surface of textured fabrics.
It is particularly useful for materials such as towels, fleece, and other fabrics with raised surfaces.
The purpose is to create a more stable embroidery area and help the main design remain visible.
L – Lettering and Lock Stitch
Lettering
Embroidery lettering involves creating names, words, numbers, or other text using stitches.
Small lettering can be challenging because thread has physical limitations. Font choice, letter height, density, and stitch type all affect readability.
Lock Stitch
A lock stitch secures thread at certain points in an embroidery design.
It helps prevent stitches from coming loose, especially around color changes or the beginning and end of stitching sequences.
M – Machine Embroidery and Monogram
Machine Embroidery
Machine embroidery uses computerized embroidery machines to create designs with thread.
The machine follows digital stitch instructions created through embroidery digitizing software.
Monogram
A monogram is an embroidered design made from initials, letters, or names.
Monogram digitizing is commonly used for towels, shirts, uniforms, bags, gifts, and personalized products.
N – Needle and Name Digitizing
Needle
An embroidery machine uses needles to carry thread through the fabric.
Needle selection can depend on the fabric, thread, and embroidery application.
Name Digitizing
Name digitizing converts names or custom text into machine-readable embroidery stitches.
Good lettering requires careful attention to size, spacing, font style, and stitch construction.
O – Outline Stitch
Outline Stitch
An outline stitch follows the edge of an object or shape.
It can define borders, separate design elements, and add detail to an embroidery design.
Outlines may be created using different stitch types depending on the desired appearance and design size.
P – Pull Compensation and PES
Pull Compensation
Pull compensation helps account for the natural movement of fabric caused by embroidery stitches.
When stitches pull fabric toward certain areas, shapes can become smaller or distorted. A digitizer may add compensation to maintain the intended dimensions and appearance.
PES
PES is an embroidery file format widely associated with Brother embroidery machines.
The file format used for a design should always match the requirements of the embroidery machine or software.
Q – Quality Control
Quality Control
Quality control involves reviewing an embroidery file before production.
A digitizer may check stitch order, density, underlay, trims, color changes, small details, and other technical elements.
Test stitching can provide additional information because a design may look correct on screen but behave differently when embroidered.
R – Running Stitch
Running Stitch
A running stitch is created by moving the needle from one point to another along a defined path.
It is commonly used for outlines, fine details, lettering, and narrow design elements.
Running stitches are especially useful when a solid fill would be unnecessary or too heavy.
S – Satin Stitch and Stitch Direction
Satin Stitch
A satin stitch is formed by closely placed stitches running from one side of an area to another.
It is commonly used for borders, lettering, columns, and narrow shapes.
Satin stitches can create a smooth and slightly raised appearance when properly digitized.
Stitch Direction
Stitch direction determines the direction in which stitches are placed.
Changing stitch direction can add visual interest, improve coverage, and help control how the design behaves on fabric.
T – Thread and Trim
Thread
Embroidery thread is the material used to create the visible stitched design.
Different thread types, weights, finishes, and colors can produce different results. Thread selection should work with the design, fabric, and intended appearance.
Trim
A trim is a machine action that cuts the thread between certain sections of an embroidery design.
Proper trimming can create a cleaner finished product and reduce unnecessary thread tails.
U – Underlay
Underlay
Underlay is a foundation layer of stitches placed underneath the visible embroidery.
It helps stabilize the fabric, support top stitches, improve coverage, and reduce some types of distortion.
Different designs and fabrics may require different underlay approaches.
V – Vector Artwork and VP3
Vector Artwork
Vector artwork is created using mathematical paths rather than fixed pixels.
Common vector formats include AI, EPS, and SVG. Vector artwork can be useful when preparing logos and artwork for professional digitizing because shapes and edges can often be edited cleanly.
However, vector artwork is not automatically an embroidery file. It still needs to be digitized for machine embroidery.
VP3
VP3 is an embroidery file format commonly associated with certain Husqvarna Viking and Pfaff embroidery systems.
As with other machine formats, compatibility should be confirmed before production.
W – Wilcom
Wilcom
Wilcom is a well-known developer of professional embroidery design and digitizing software.
Professional embroidery software can provide tools for creating stitches, editing designs, managing lettering, adjusting density, and preparing machine files.
Software is an important part of digitizing, but technical knowledge and practical embroidery experience also play a major role.echnical
X – X-Axis
X-Axis
The X-axis represents horizontal movement within a digital design workspace.
Understanding the X-axis and Y-axis helps digitizers position, resize, align, and edit embroidery elements accurately.
Y – Y-Axis
Y-Axis
The Y-axis represents vertical movement in a design workspace.
Together, the X-axis and Y-axis help define the position of objects within the embroidery design.
Accurate positioning is especially important when preparing logos, lettering, and designs that must fit within a specific embroidery area.
Z – Zipper and Zigzag Stitch
Zipper
When embroidery is placed near a zipper or another raised garment feature, the digitizing process must account for the available stitching area.
Placement and sequencing should prevent the embroidery from interfering with the garment construction.
Zigzag Stitch
A zigzag stitch moves from side to side across a defined area.
It can be used for borders, decorative effects, reinforcement, and certain embroidery constructions.
The stitch width and spacing influence the final appearance.
Key Embroidery Digitizing Terms to Remember
You do not need to memorize every technical term at once. Start with the concepts that have the biggest effect on embroidery quality.
These include:
- Stitch density
- Underlay
- Stitch direction
- Pull compensation
- Stitch sequencing
- Satin stitch
- Running stitch
- Fill stitch
- Thread changes
- Trim commands
- Embroidery file formats
- Fabric type
- Hoop size
- Digitizing
Once these terms become familiar, embroidery digitizing software and professional embroidery files become much easier to understand.
Why Understanding Digitizing Terms Matters
A basic understanding of embroidery terminology can improve communication between customers, digitizers, embroidery shops, and apparel businesses.
For example, knowing the difference between a vector file and an embroidery file can prevent confusion when submitting artwork. Understanding density and underlay can help explain why a design may need adjustments for a particular fabric.
It also helps customers provide better instructions. Instead of simply saying that a design should “look like the picture,” they can discuss important details such as size, placement, thread colors, fabric type, and embroidery technique.
For beginners, learning the vocabulary is one of the easiest ways to build confidence before moving into more advanced digitizing techniques.
About Digitizings
Digitizings provides professional embroidery digitizing and vector art services for businesses, apparel brands, embroidery shops, and individuals.
Services can include custom embroidery digitizing, logo digitizing, 3D puff digitizing, cap and hat digitizing, appliqué digitizing, jacket-back digitizing, monogram digitizing, patch digitizing, photo-to-embroidery digitizing, chenille digitizing, cross-stitch digitizing, towel and terry cloth digitizing, chain stitch digitizing, flat embroidery digitizing, name and letter digitizing, gradient and blending digitizing, left chest logo digitizing, and badge and emblem digitizing.
Understanding embroidery terminology makes it easier to explain your requirements and select the right digitizing approach for each project.
Conclusion
Embroidery digitizing combines artwork, software, thread, fabric, and machine instructions to create a finished embroidered design. Learning the terminology behind this process makes the entire subject easier to understand.
From appliqué and backing to underlay, density, pull compensation, stitch direction, and file formats, every term describes an important part of the embroidery process.
This A to Z glossary provides a useful starting point for beginners while also serving as a quick reference for anyone who works with machine embroidery.
As you gain experience, these terms will become familiar. More importantly, you will begin to understand how each technical decision can influence the quality, appearance, and performance of an embroidered design.
Frequently Asked Questions
1. What is embroidery digitizing?
Embroidery digitizing is the process of converting artwork into digital stitch instructions that an embroidery machine can read and stitch onto fabric.
2. What is the difference between a vector file and an embroidery file?
A vector file contains scalable artwork made from paths and shapes. An embroidery file contains machine instructions such as stitch locations, stitch types, sequencing, and thread information.
3. Why is stitch density important in embroidery digitizing?
Stitch density controls how closely stitches are placed. Incorrect density can cause poor coverage, excessive thread use, stiffness, puckering, or fabric distortion.
4. What does underlay mean in embroidery?
Underlay is a foundation layer of stitches placed beneath the visible embroidery. It helps stabilize the fabric and support the top stitching.
5. Which embroidery file format should I use?
The correct format depends on the embroidery machine. DST, PES, JEF, EXP, and VP3 are examples of commonly used formats, but machine compatibility should always be confirmed before production.